
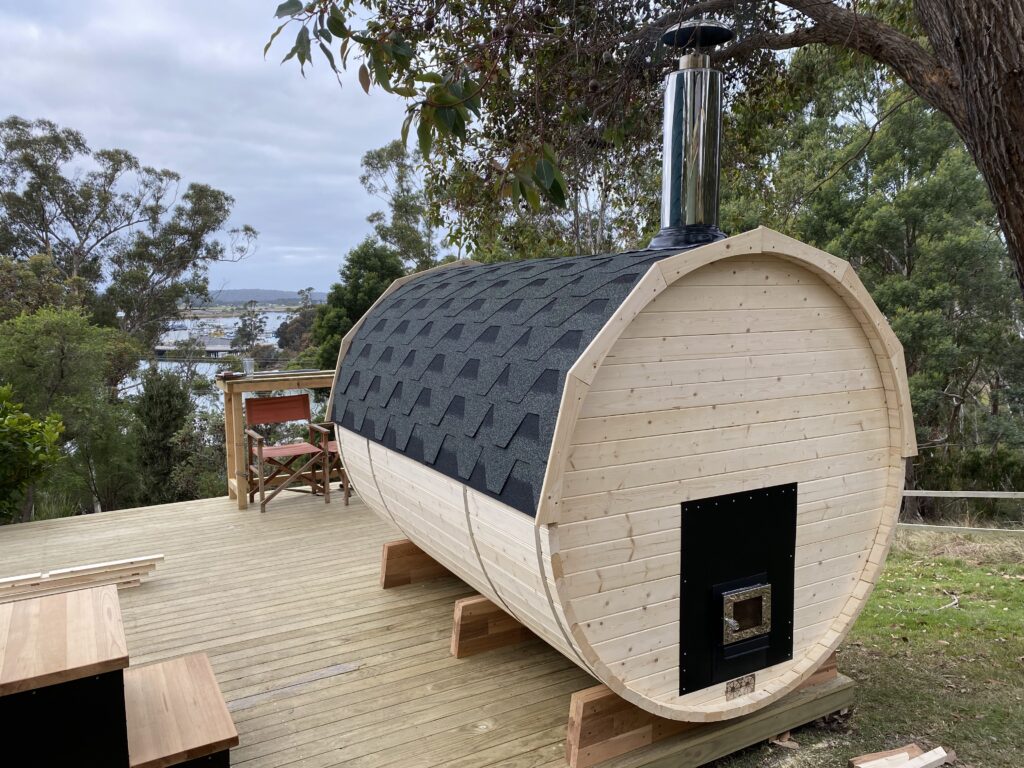
Step-by-Step Guide: How to Shingle a Barrel Sauna
Learning how to add shingles to a barrel sauna can be helpful when you want to enhance your barrel sauna. Shingling not only adds an aesthetic appeal but also provides crucial protection against the elements.
This post will guide you through the process to make your barrel sauna cozy and durable.
Why Add Shingles to your Barrel Sauna?
Adding shingles to your barrel sauna is more than just an upgrade; it’s a smart investment for longevity and style. The primary benefit of shingling your sauna is the enhanced weather protection it offers. Shingles act as a robust barrier against rain, snow, and sun, significantly extending the life of your sauna by preventing weather-related wear and tear.
Aesthetically, shingles contribute to a rustic, elegant look, elevating your sauna from a simple backyard structure to a striking landscape feature.
Installing shingles might seem daunting, but with the right tools and guidance, it’s a straightforward process.
How to Add Shingles to Your Barrel Sauna
1. To install shingles in a barrel sauna, begin by placing skirting boards around the sauna profile. These are typically included with bitumen shingle orders. Start from the topmost area of the barrel sauna, ensuring they align visually with the middle of the sauna. Use the door as a reference point.

2. Next, install rainwater break planks under where the shingles will be. These planks, positioned at the sides, create a separation between the shingles and the sauna surface, aiding in rainwater runoff. Start placing these planks following a line from one side to the other.

3. Pre-drill holes in the break water planks before securing them with screws. This sets a starting point for the skirting boards at the back side of the sauna. Start from the bottom and work upwards.
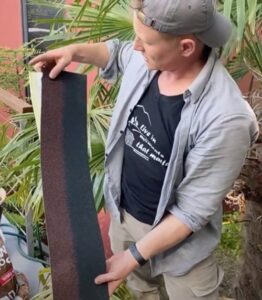
4. Now, apply the shingles. Begin from the bottom shingle, cutting off the trapezoid parts to make the first shingle layer straight. The shingles have a self-adhesive layer, but if not sticking immediately, use a heat gun or leave them in the sun. Secure with nails if needed.
Cutting Sauna Shingles to create rectangular shingles for the first layer:

After cutting sauna shingles:
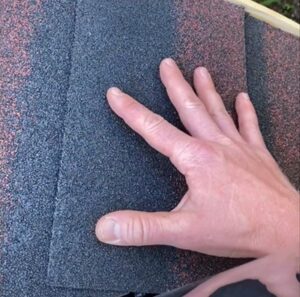
5. When placing the next layers of shingles, make sure to overlap them. Start from the opposite end of the sauna for each new layer, so that each layer covers the joints of the previous layer. Maintain a small gap at the edges and proceed in a zigzag pattern to the top, repeating the process on the opposite side.
6. Near the top of the sauna, there will be a 10-15 centimeter gap uncovered, for which you’ll cut a rectangular piece to fit over the top, similar to the first layer shingles. Apply silicone to the roof or shingle sheet, press it, and hold briefly.
Rectangular Shingles for topmost area of the sauna:
Note: If your barrel sauna uses a firewood heater: As you approach the flue, maintain the overlapping pattern and make necessary cutouts for a snug fit.
7. For weatherproofing around the flue, apply silicone adhesive to both sides of a pre-cut rectangular shingle piece and place it over the flue. Add weight briefly to ensure adherence. Finally, apply a rubber seal over the top of the flue, extending down onto the shingles. Cut the seal to fit as needed and secure it with silicone or weatherproof screws to prevent rainwater penetration and smoke leakage.
Wrapping Up
Shingling your barrel sauna is a practical and visually appealing upgrade that enhances both its durability and beauty. Looking to purchase sauna shingles and other spa accessories? Look no further than Shym Saunas. Visit Shym Saunas today to find everything you need to transform your barrel sauna into a stunning and enduring haven of relaxation.
- St Helens, TAS