Table of Contents
ToggleHow fabulous would it be to transform your basement into a cosy and inviting spa basement? A sauna basement not only provides privacy but also adds value to your property. Of course, this is an opportunity of having relaxation within your home! In this comprehensive guide, we will explore the ins and outs of creating a spa basement, from planning and design considerations, to building your own, or selecting the right sauna kit.
Key Takeaways
Here’s a rundown on how you can install an indoor sauna in your basement:
The first step is to evaluate the available space in your basement. Consider the size of the sauna you desire and whether your basement can accommodate it. A compact 2-3 person sauna is a popular choice for home use.
Proper ventilation is crucial to prevent moisture buildup, which can lead to mold and mildew. Plan for an exhaust fan or a ventilation system that ensures air circulation. Incorporating a floor drain can also help manage water effectively.
Saunas require a reliable power source for the heater. Ensure your basement has access to an adequate electrical supply, meeting the sauna heater’s specifications. It’s advisable to consult with a professional electrician to ensure compliance with safety standards.
Proper insulation is key to maintaining the sauna’s heat. Use high-quality insulation materials along with a vapor barrier to prevent moisture from penetrating the walls.
High-quality insulation is essential for keeping the heat in and ensuring your sauna heats up efficiently. Mineral wool or fiberglass insulation, covered by a vapor barrier, is commonly used in walls and ceilings.
As for vapor barriers, here are options:
Builders widely use polyethylene sheeting as a standard and highly effective vapor barrier in sauna construction. They typically recommend and install a 6-mil thick sheet on the sauna’s interior side of wall and ceiling structures before applying the sauna paneling. This method effectively blocks moisture from penetrating the walls or insulation.
Designed for high-temperature environments like saunas, aluminum foil vapor barriers reflect heat back into the sauna while preventing moisture from escaping into the structure. This type of barrier stands out for its durability and effectiveness in handling the intense sauna environment.
Combining the benefits of insulation with a vapor barrier, you can use foil-faced insulation panels or batts for dual purposes. The insulation retains heat within the sauna, and the foil facing acts as a vapor barrier. This approach significantly enhances sauna efficiency and protects the building’s structure.
In areas where installing traditional barriers poses challenges, you can apply vapor barrier paints or primers to walls and ceilings. Designed to minimize vapor transmission, these products serve as supplementary measures alongside more robust barrier methods.
You can also select polyethylene or other plastic sheets reinforced with scrim or fabric for their added strength and durability in sauna applications. Reinforced vapor barriers, resistant to tearing and puncturing, are an excellent choice for protecting against rough framing or hardware contact.

Cedar is the top choice for many sauna builders due to its natural resistance to moisture, decay, and insect damage. Its pleasant aroma contributes to the relaxing atmosphere of the sauna, and it doesn’t overheat, making it comfortable to touch.
Hemlock is another popular choice, known for its beautiful light color and smooth texture. It offers good resistance to heat and is less aromatic than cedar, which might be preferable for those sensitive to strong scents.
Spruce is a traditional choice in many Scandinavian saunas. It features a light color and tight grain, providing excellent heat insulation. Spruce has a subtle, natural scent that can enhance the sauna experience without overwhelming it.
Ideal for those with allergies, Aspen is hypoallergenic and does not emit resin or strong odors at high temperatures. Its light color and minimal grain pattern make it a visually appealing choice.
Using stainless steel screws, hinges, and other fasteners and Hardware ensures that your sauna’s structural integrity remains intact over time. They resist rust and corrosion, preventing unsightly stains on wood surfaces.

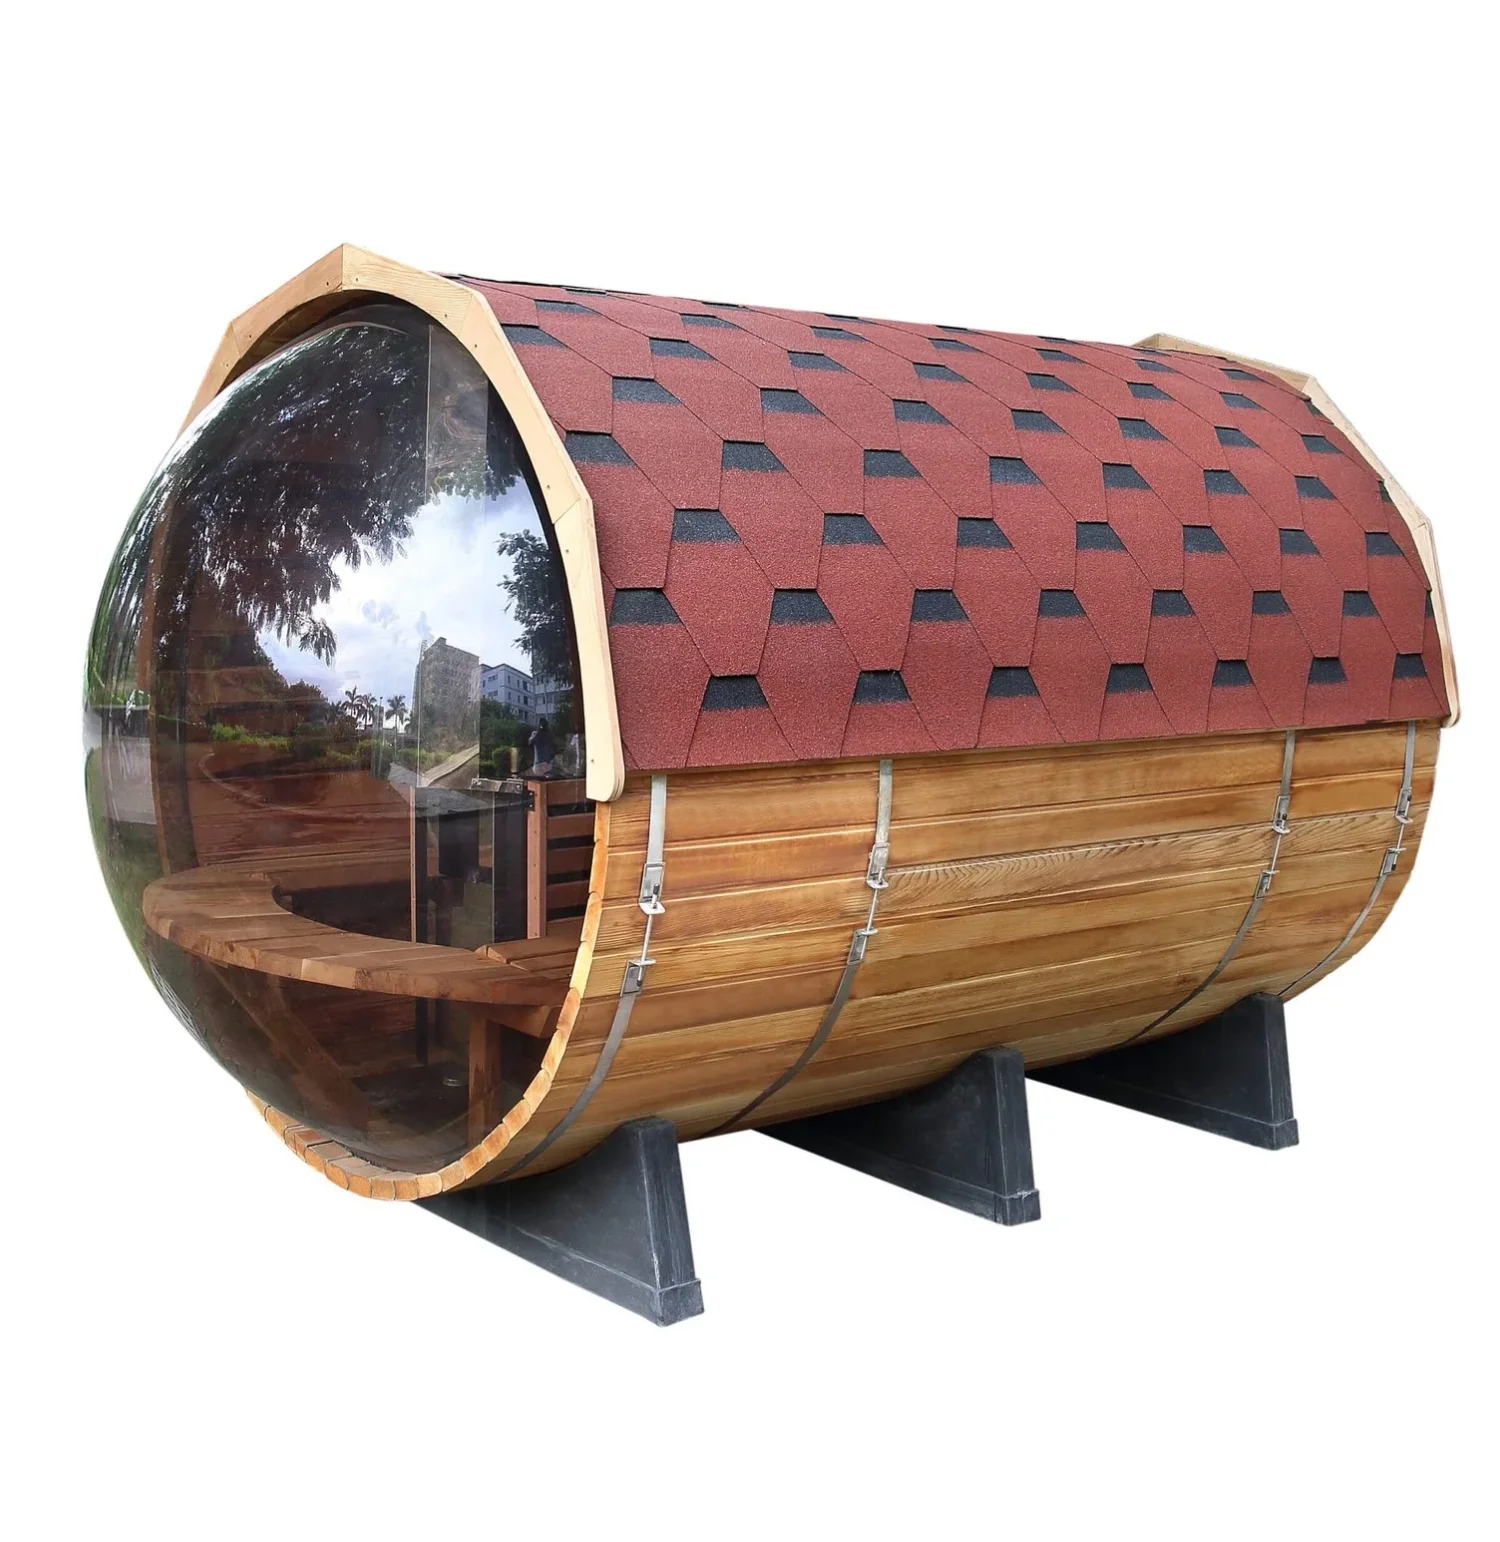
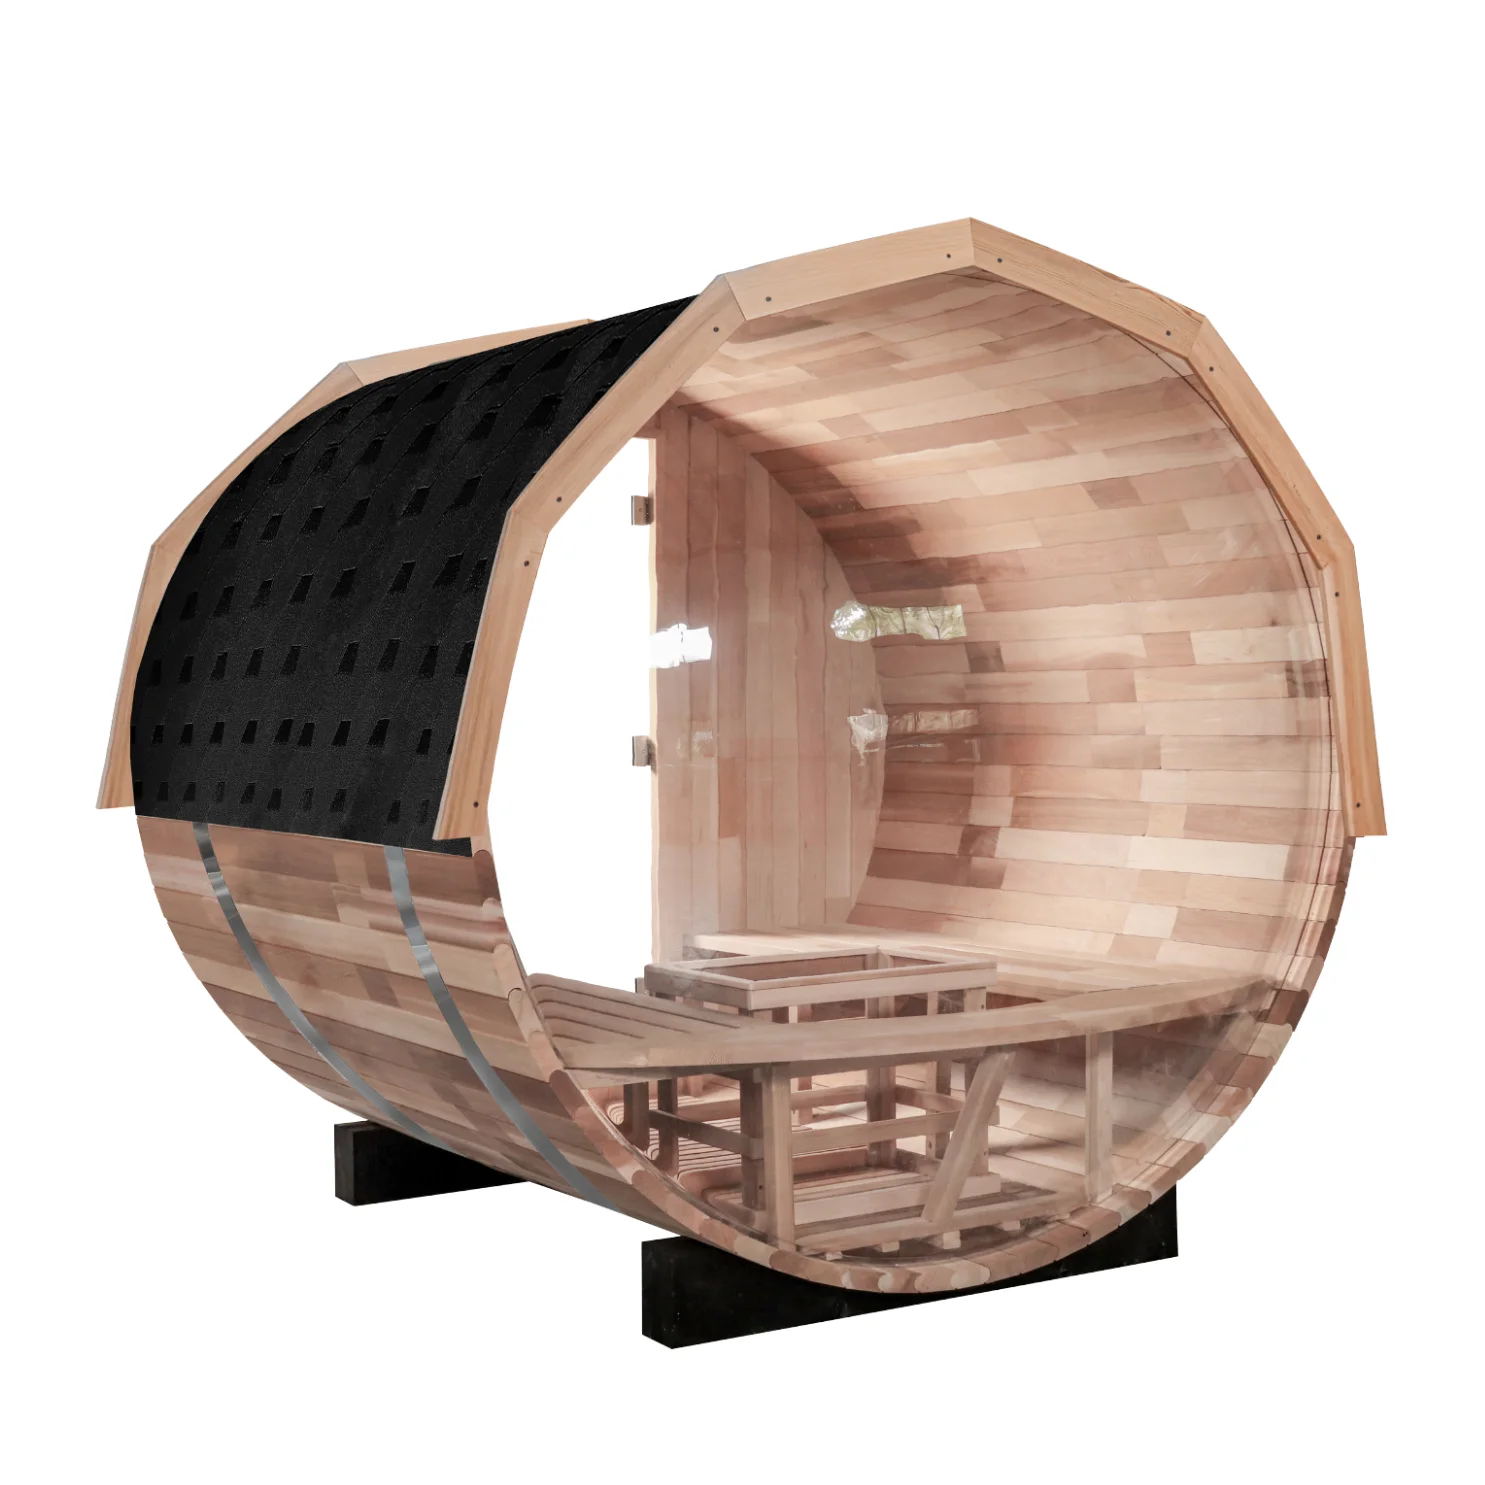
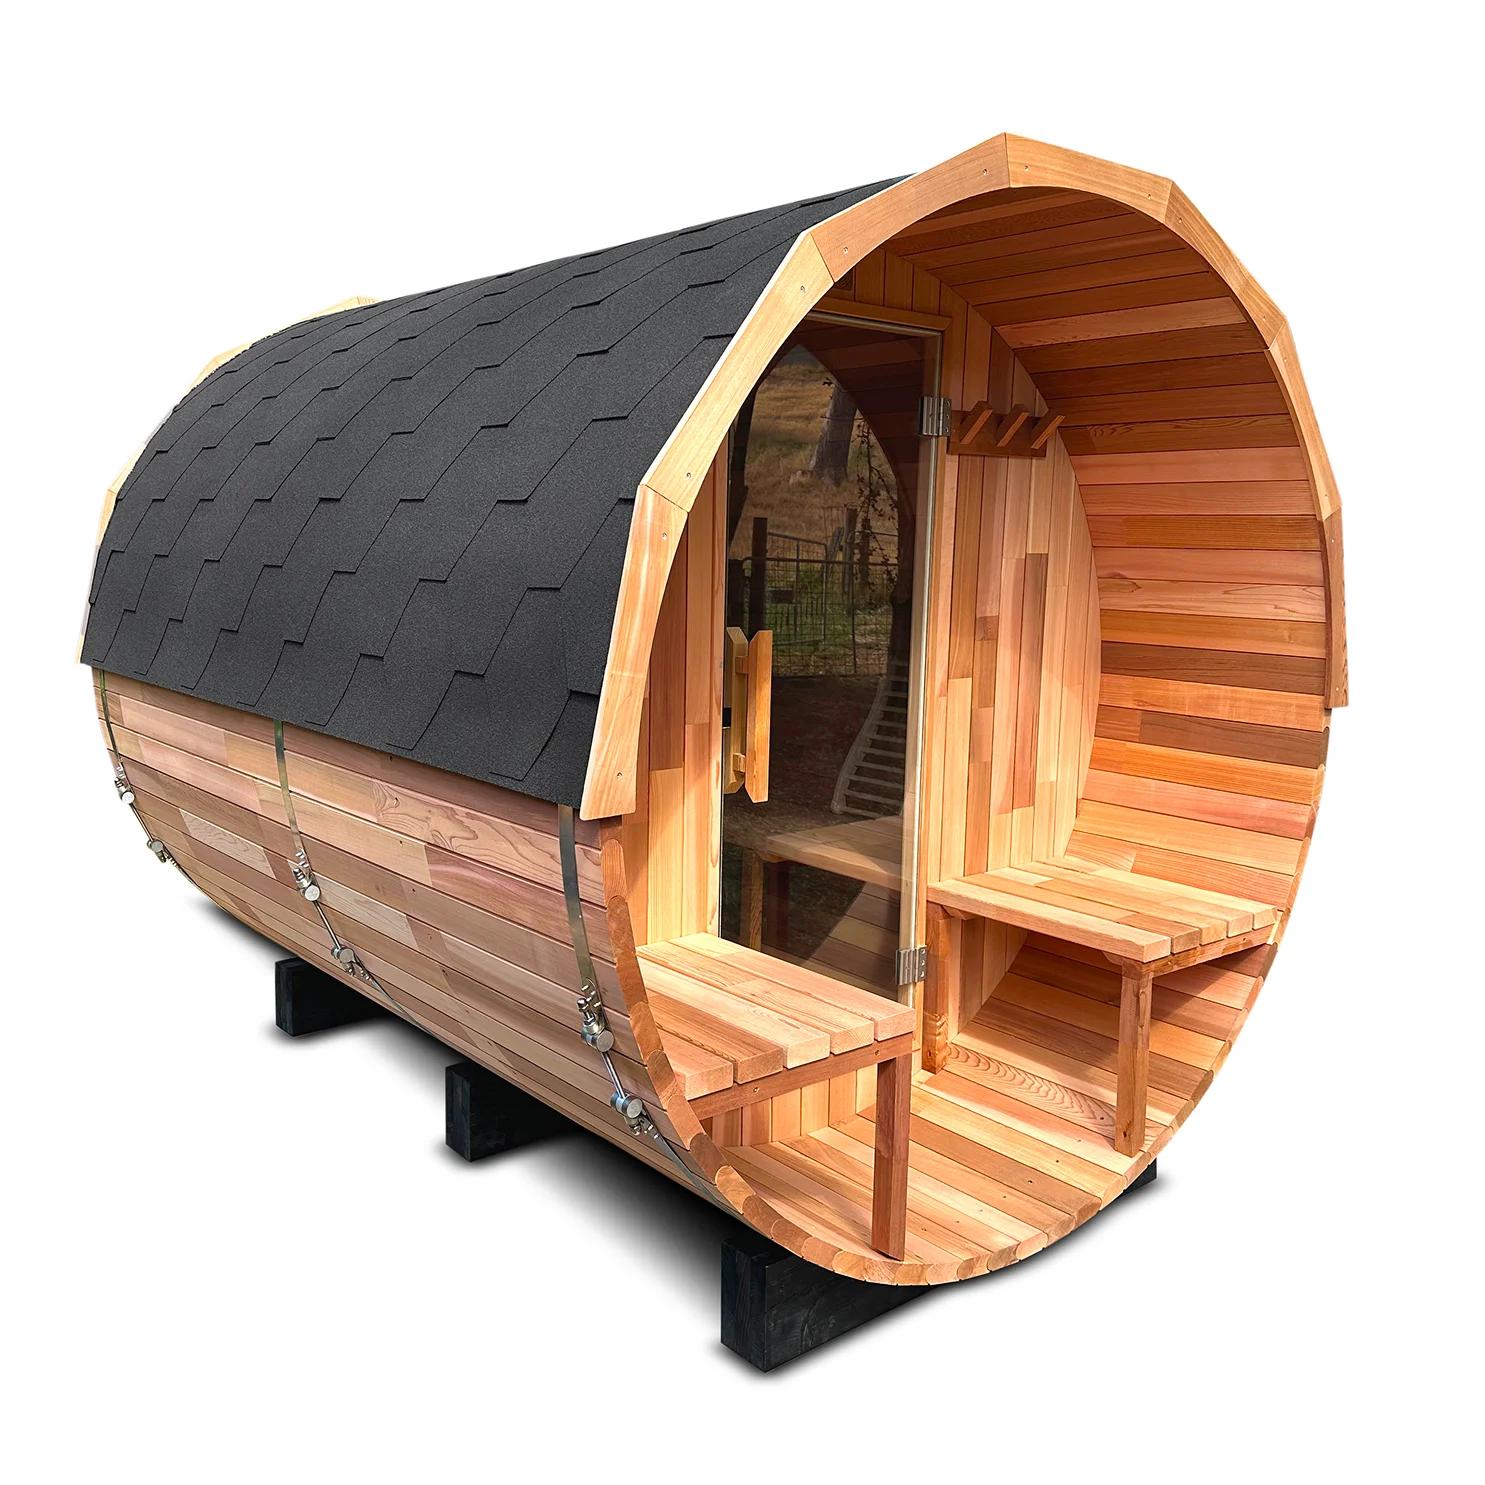
Pre-made sauna kits are a popular choice for DIY enthusiasts and first-time builders. They typically come with all the necessary components, including wood, heaters, and benches, designed to fit together seamlessly.
The main advantage is convenience and speed of installation, making them ideal for those looking for a straightforward project. However, kits may limit customization options and might not perfectly fit the dimensions or aesthetic preferences you have for your space.
A custom-built sauna offers the ultimate flexibility in design, materials, and size. This option allows you to tailor every aspect of the sauna to your specific desires and the unique characteristics of your basement.
While this route requires more planning and potentially higher costs, it results in a more personalized sauna experience. You can work with a professional sauna designer or contractor who specializes in sauna construction to ensure all technical aspects, such as ventilation and insulation, are properly addressed.
Adding a sauna under the basement stairs is a smart way to use an often overlooked space, creating a cosy and efficient sauna setup. Here’s some tips to help you build a under-stairs spa basement setup:
Make the most of the limited space by designing a compact sauna that fits snugly under the stairs. This can be ideal for 2-3 people, with a sloped ceiling to match the stairs’ incline.
Pay close attention to the clearances needed above the heater. Make sure to check the minimum ceiling height and clearances of the heaters you’ll use.
Tips: Place the heater where the ceiling height is at its maximum to meet safety requirements. If not, heater fences can be used. Take note: Smaller heaters can be suitable for these tight spaces as well, because the space under stairs will be smaller and have a less conventional shape than the standard, you may be able to get away with this and downgrade your heater size.
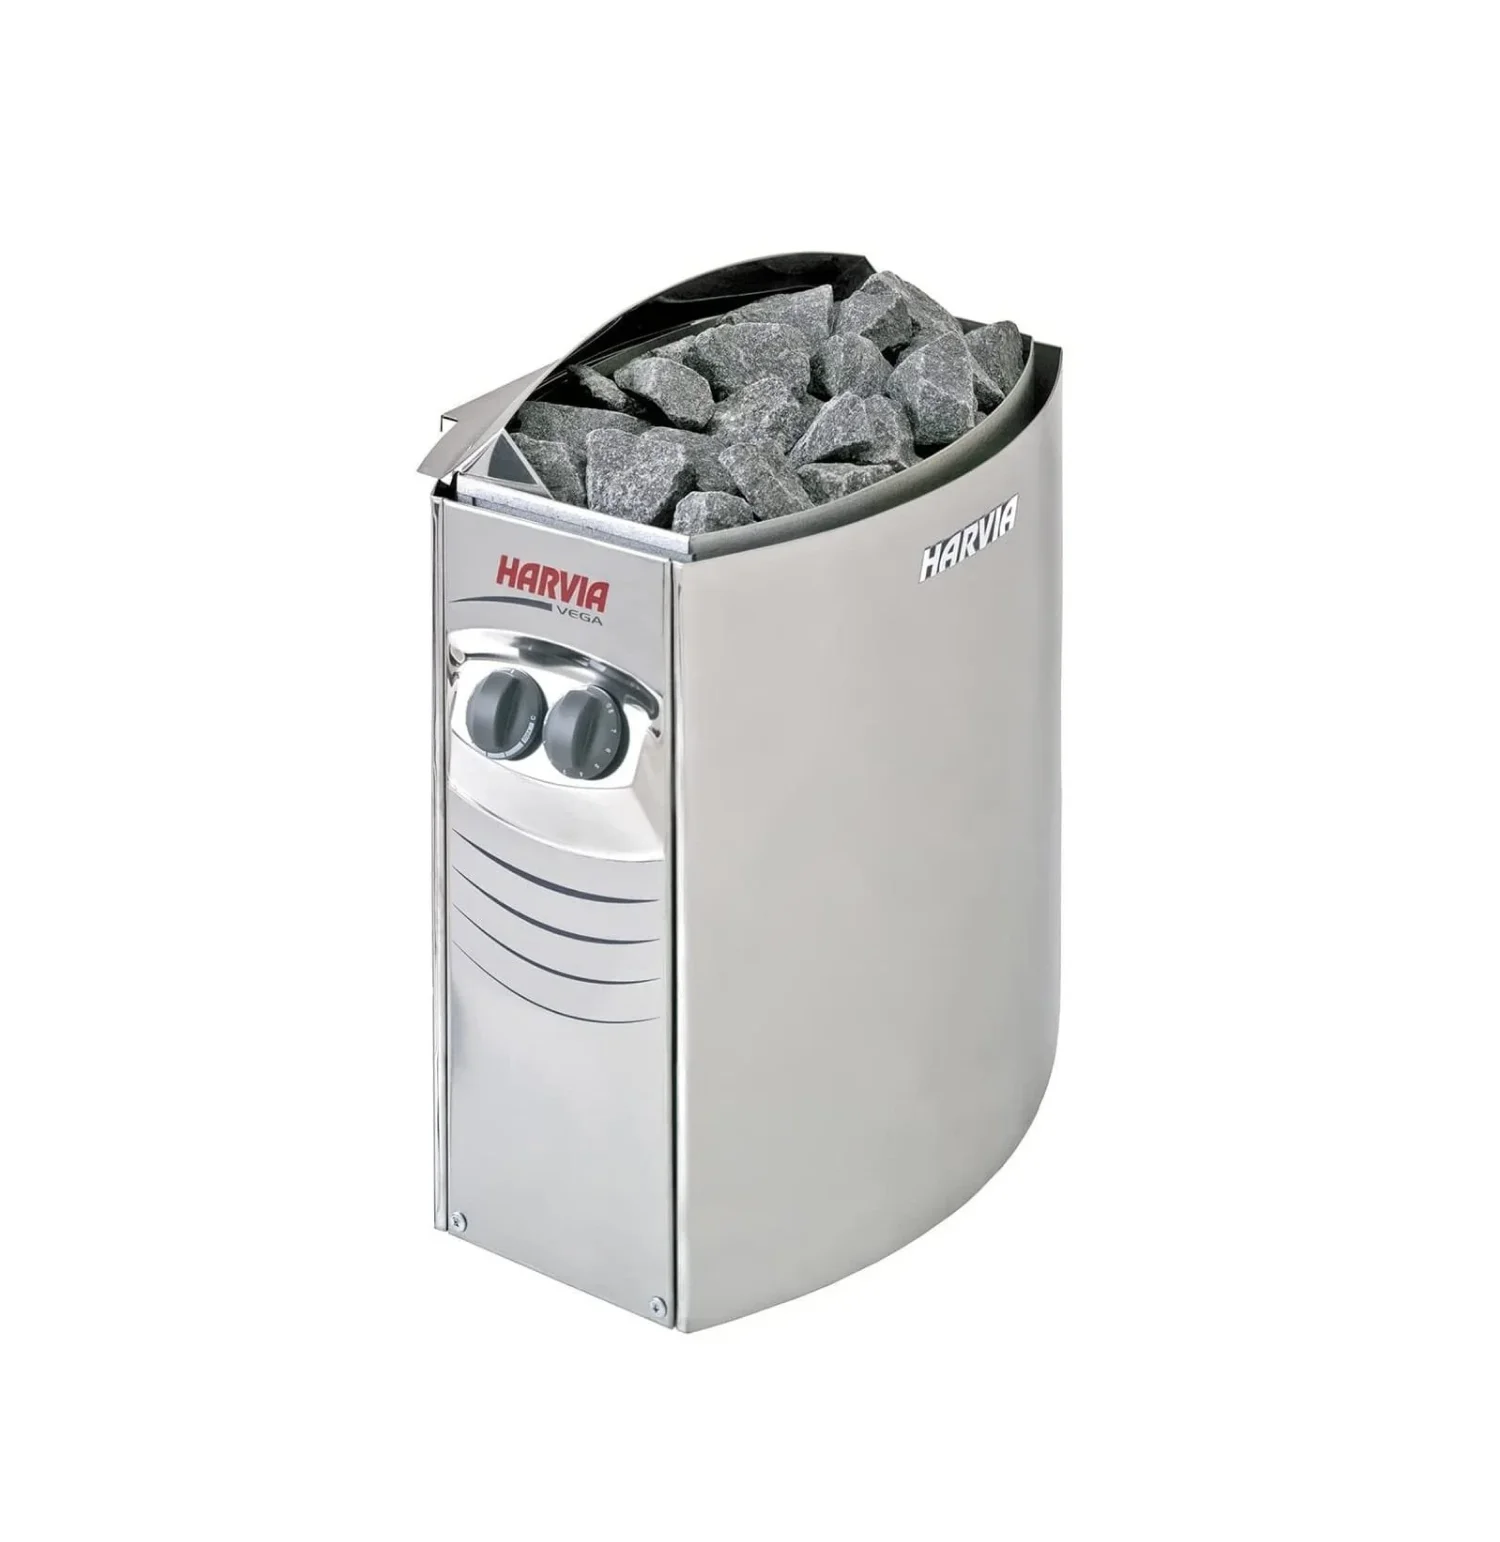
Electric heaters are a popular choice for indoor saunas as it is easy to install and maintain. They’re suitable for saunas of all sizes, providing consistent and controllable heat. Electric heaters also don’t require a chimney, making them a practical choice for basement installations. You can look for models with built-in controls or remote operation for added convenience.
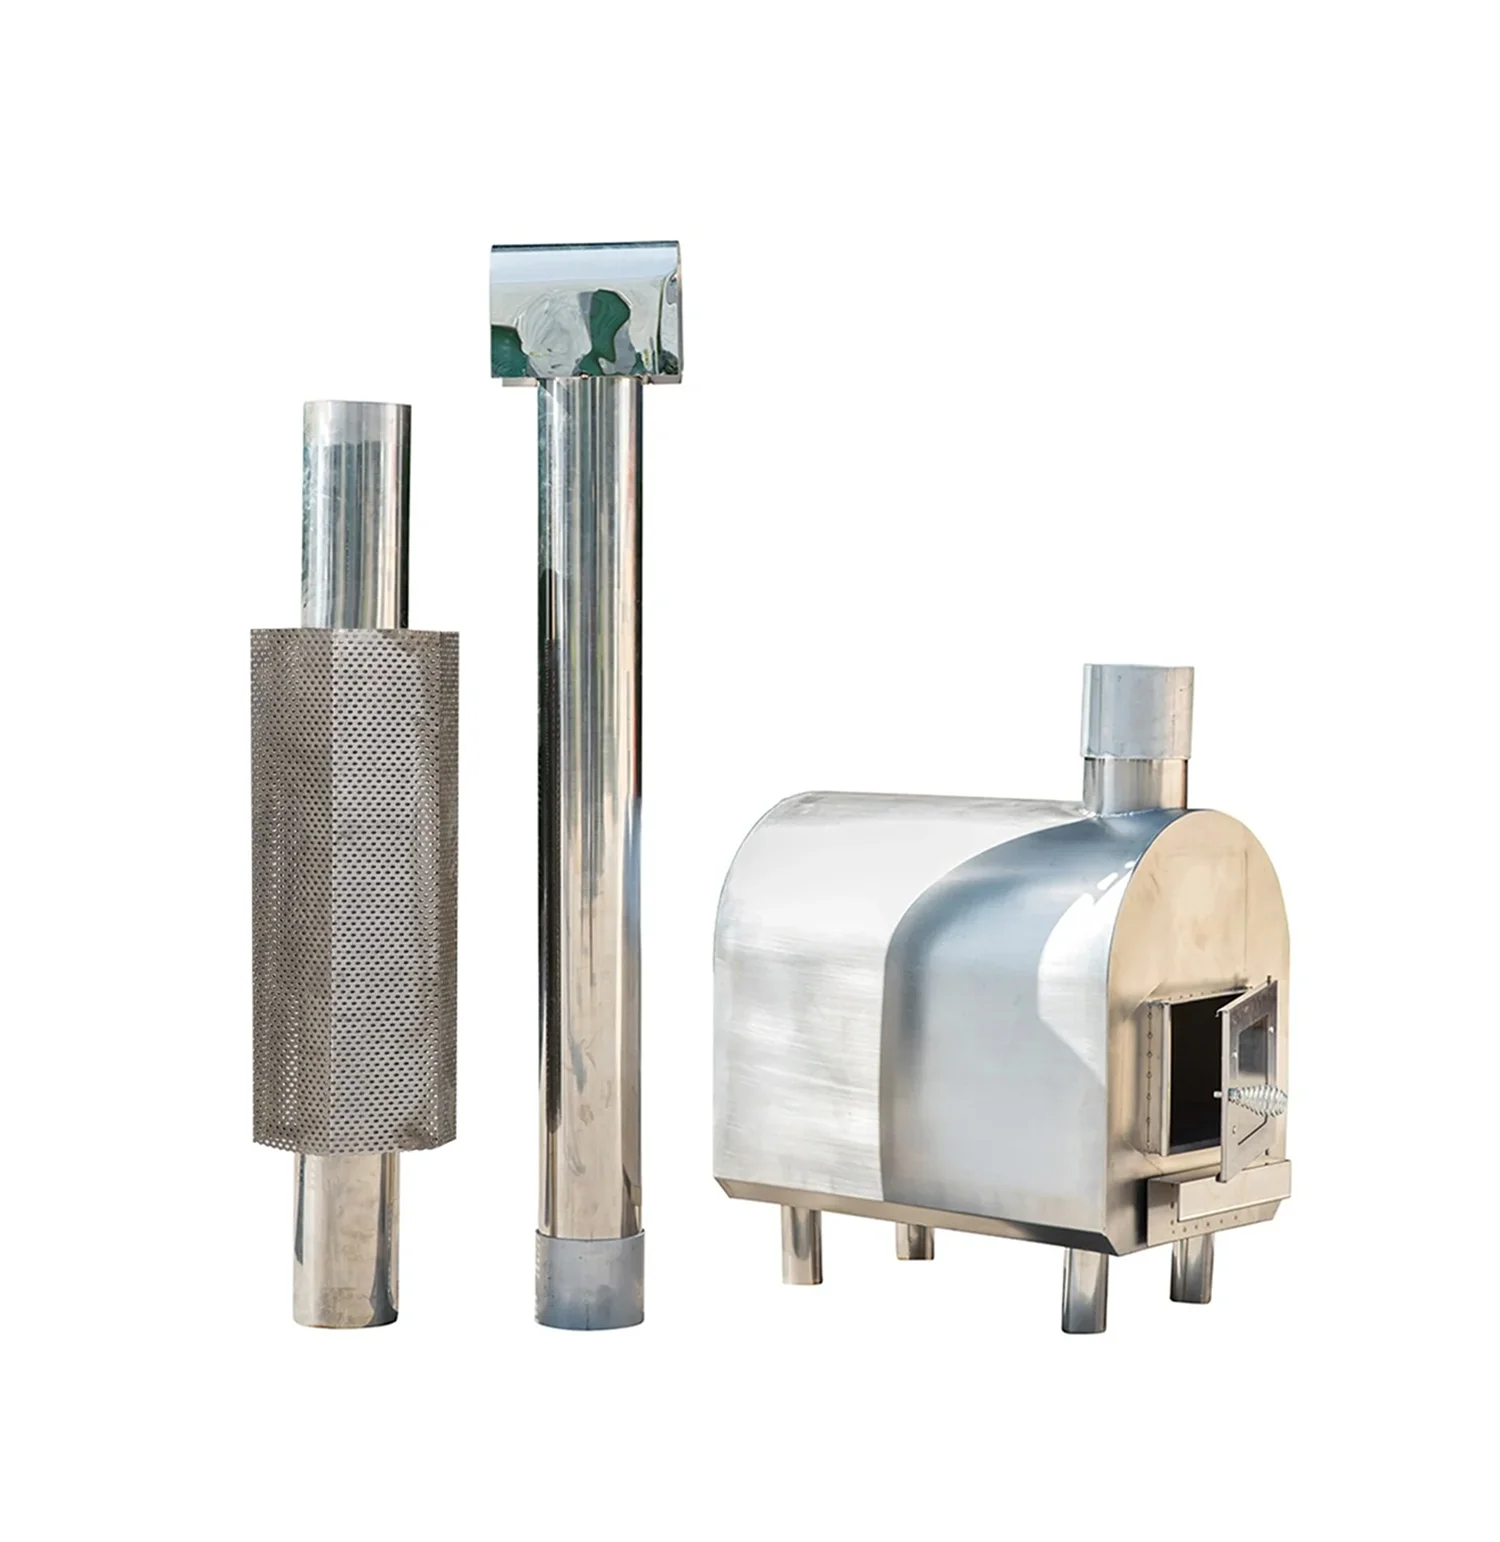
For a more traditional sauna experience, a wood-burning stove can be an appealing choice. It provides a unique ambiance with the scent of burning wood and the sound of crackling fire.
A wood-fired heater requires access to a chimney or proper venting system, which may add complexity to the installation in your basement setting. Make sure to comply with local building codes and regulations when installing a wood-burning stove.
Water resistance is crucial for basement sauna flooring to handle the high humidity and potential water spillage. You can use tiles and sealed concrete, as they are excellent choices for their durability and ease of cleaning. See to it that you finish them with non-slip textures or finishes to enhance safety.
In cases where a floor drain is not possible, designing the floor with a slight slope towards a designated corner or edge can facilitate water runoff and simplify cleaning. This approach requires careful planning during the construction phase to ensure proper drainage.
The lighting within a sauna should enhance the relaxing atmosphere while being safe for high-heat and humid conditions. Waterproof, dimmable LED lights are an excellent choice, offering energy efficiency and a long lifespan. You can install them in recesses, behind benches, or along the ceiling for indirect, soft lighting that doesn’t overpower the space.
Position lights strategically to avoid direct glare in users’ eyes. Consider the lighting when seated or lying down; this should enhance the comfort and ambiance of the sauna. You can use colored lights or install a control system to adjust the light color and intensity based on mood or time of day.
Bench design is a critical element of sauna comfort and usability. Tiered benches not only maximize seating capacity but also allow you to choose your preferred heat level, as higher seats are warmer. Ensure benches are made from materials that resist heat and moisture without becoming too hot to touch, such as cedar or spruce.
For added comfort, round the edges of benches and they should be wide enough to lie down on. Removable or adjustable benches offer flexibility in sauna use, allowing for easier cleaning and the option to create more open space when desired.
It’s clear that transforming your basement into a sauna requires careful consideration beyond the basics of installation. It involves understanding the unique challenges of an indoor setup, particularly in a basement, and learning from other people’s experiences to make this challenge easier.
When planning your basement sauna, consider the following advice:
We emphasize the need of a complete ventilation plan that includes both air exchange within the sauna and moisture management strategies for the surrounding basement area. This is important to prevent the suffocation hazard for such sauna setups! You can consult with HVAC professionals that can provide innovative solutions tailored to your home’s existing systems.
You need a solid ventilation plan that ensures good air exchange within the sauna and manages moisture in the surrounding basement area. Proper ventilation prevents suffocation risks, especially for an indoor sauna, let alone a sauna basement setup. Consider consulting HVAC professionals who can offer innovative solutions tailored to your home’s existing systems.
Basements are prone to dampness; hence, incorporating moisture barriers and waterproof materials is vital to protect your basement from the high humidity levels. Also make sure to have a floor drain to avoid water being trapped that can cause safety issues when using the sauna.
Reflect on the Finnish approach to sauna building by prioritizing quality and custom solutions over convenience. This might mean investing in higher-quality materials or custom fabrication to ensure your sauna meets both your expectations and the structural demands of a basement environment.
Opt for materials that withstand heat and moisture, such as tile or concrete, complemented by non-slip mats for safety and comfort.
1. Safety First: Install a reliable thermometer and hygrometer to monitor the sauna’s temperature and humidity. Ensure there’s an easily accessible emergency cutoff for the heater.
2. Regular Cleaning: Maintain a clean and hygienic sauna by regularly washing the benches, floor, and any other surfaces. Use mild, non-abrasive cleaners suitable for wood.
3. Moisture Management: After each use, allow the sauna to air out by leaving the door open and running the ventilation system. This helps prevent mold and extends the lifespan of your sauna.
With thoughtful planning, the right materials, and careful installation, your basement can transform into a sauna haven. If you’re a beginner looking to embark on this transformative project, consider exploring Shym Saunas for a range of sauna kits that are perfect for your basement, offering an accessible and straightforward path to start your sauna journey!
Yes, saunas can be adapted to various sizes. Compact DIY kits and barrel saunas are excellent options for smaller spaces.
Use a high-quality vapor barrier and ensure proper ventilation. Consider using dehumidifiers and make sure the basement has proper drainage to handle excess moisture
Costs vary based on the sauna type, size, and materials, with DIY kits starting from a few thousand dollars.
Non-porous, heat-resistant materials like tile or sealed concrete are ideal for sauna floors.
1. Bathroom: If your bathroom has ample space, it could serve as a convenient and logical location for your sauna. Check that the floor and power sources can support the sauna’s needs. Adding amenities like towel storage, scent diffusers, and mood lighting can elevate your sauna experience to spa levels.
2. Dedicated Spa Room: When you want the ultimate retreat, dedicating a whole room to your wellness and sauna activities can be incredibly rewarding. Since it is fully utilized for a sauna, this space can be outfitted with items that promote relaxation such as aromatherapy, soft music, ambient lighting, and cosy seating.
3. Outdoor Structures: Although not really considered indoors, it’s possible to install your sauna in a well-insulated outdoor structure like a modified garage or a purpose-built wellness shed.
Yes, you can build a sauna under your basement stairs. This is a great way to utilize unused space. Ensure you have sufficient ceiling height and follow safety guidelines for heater placement, ventilation, and insulation.
Clear the area of any debris, ensure the floor is level and water-resistant, and make any necessary adjustments to accommodate a drain