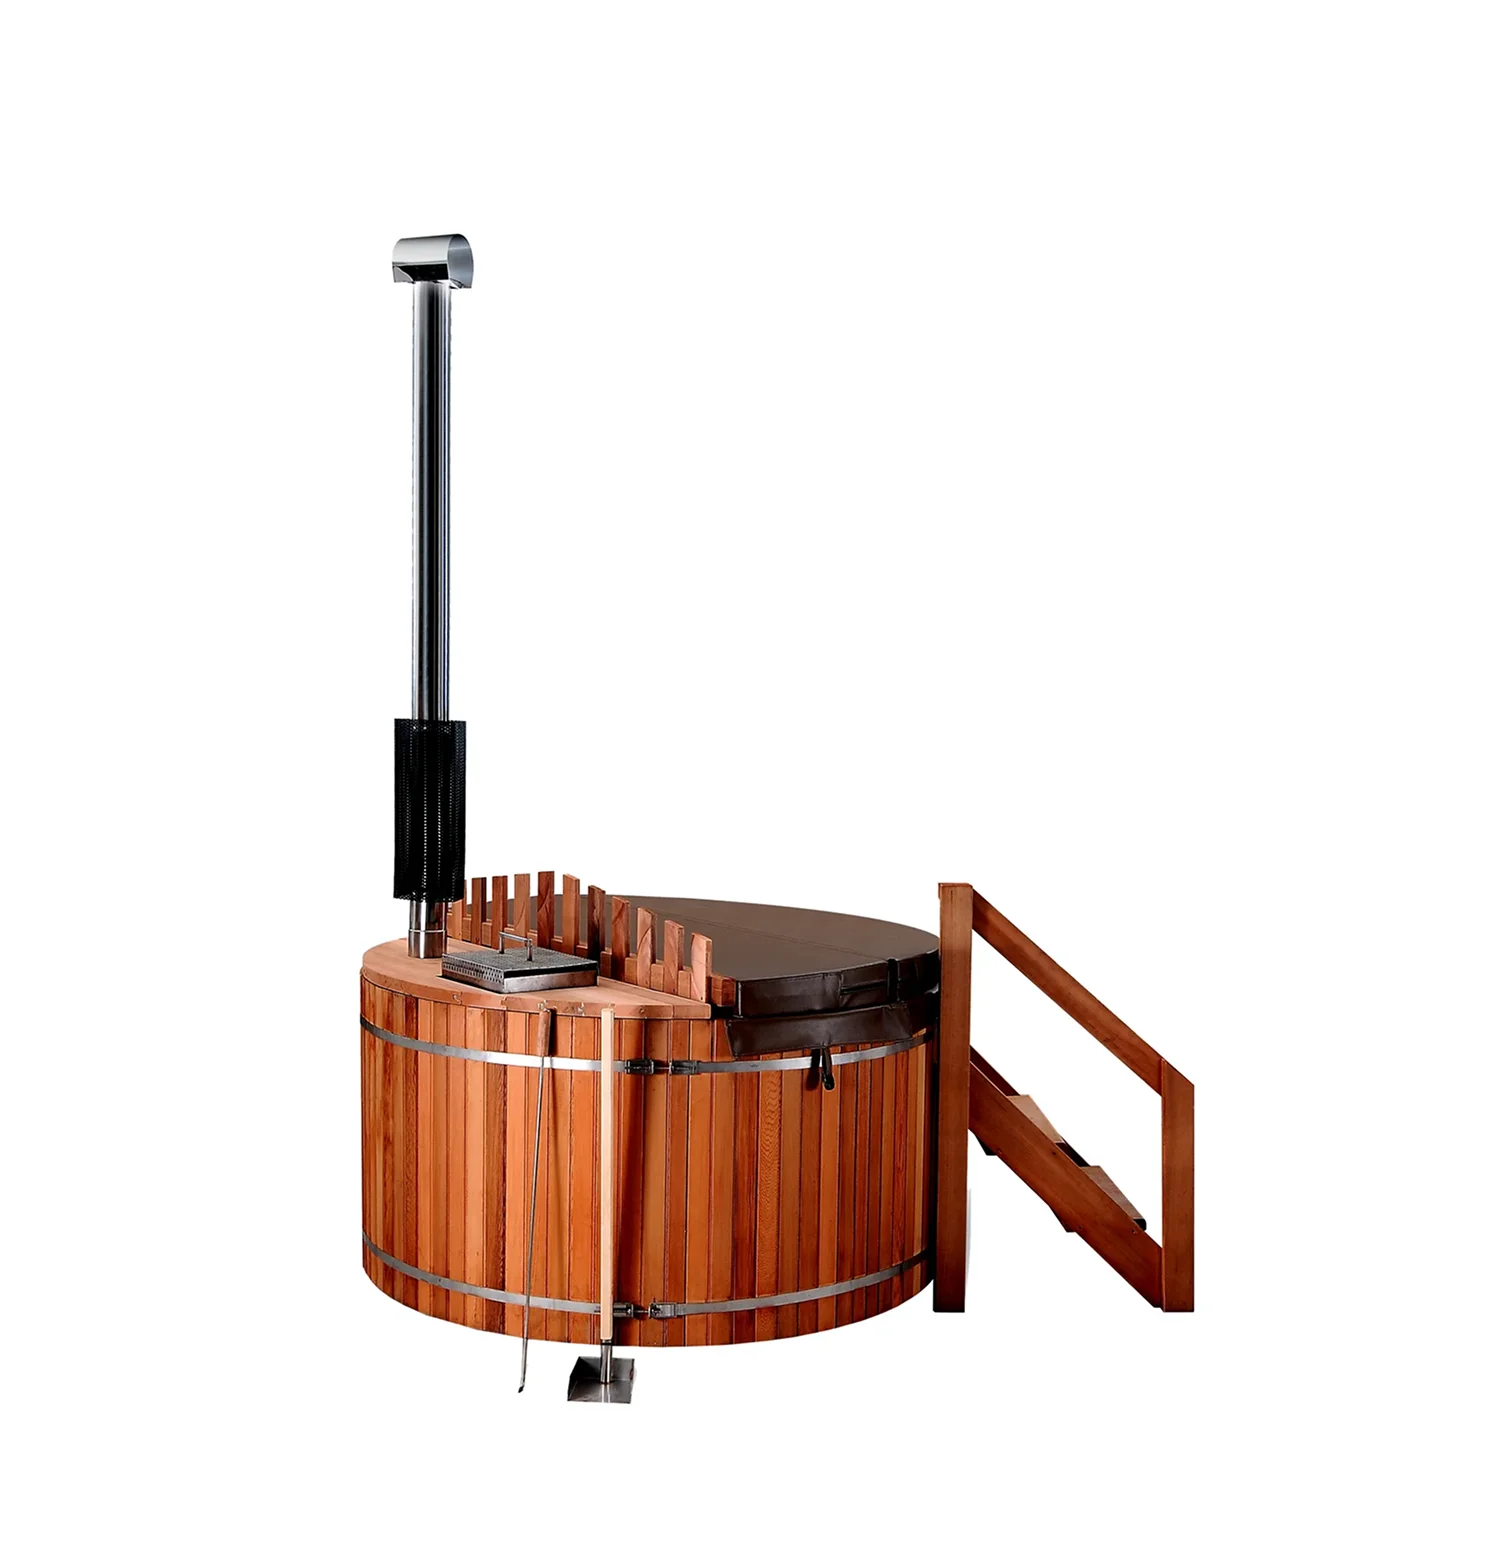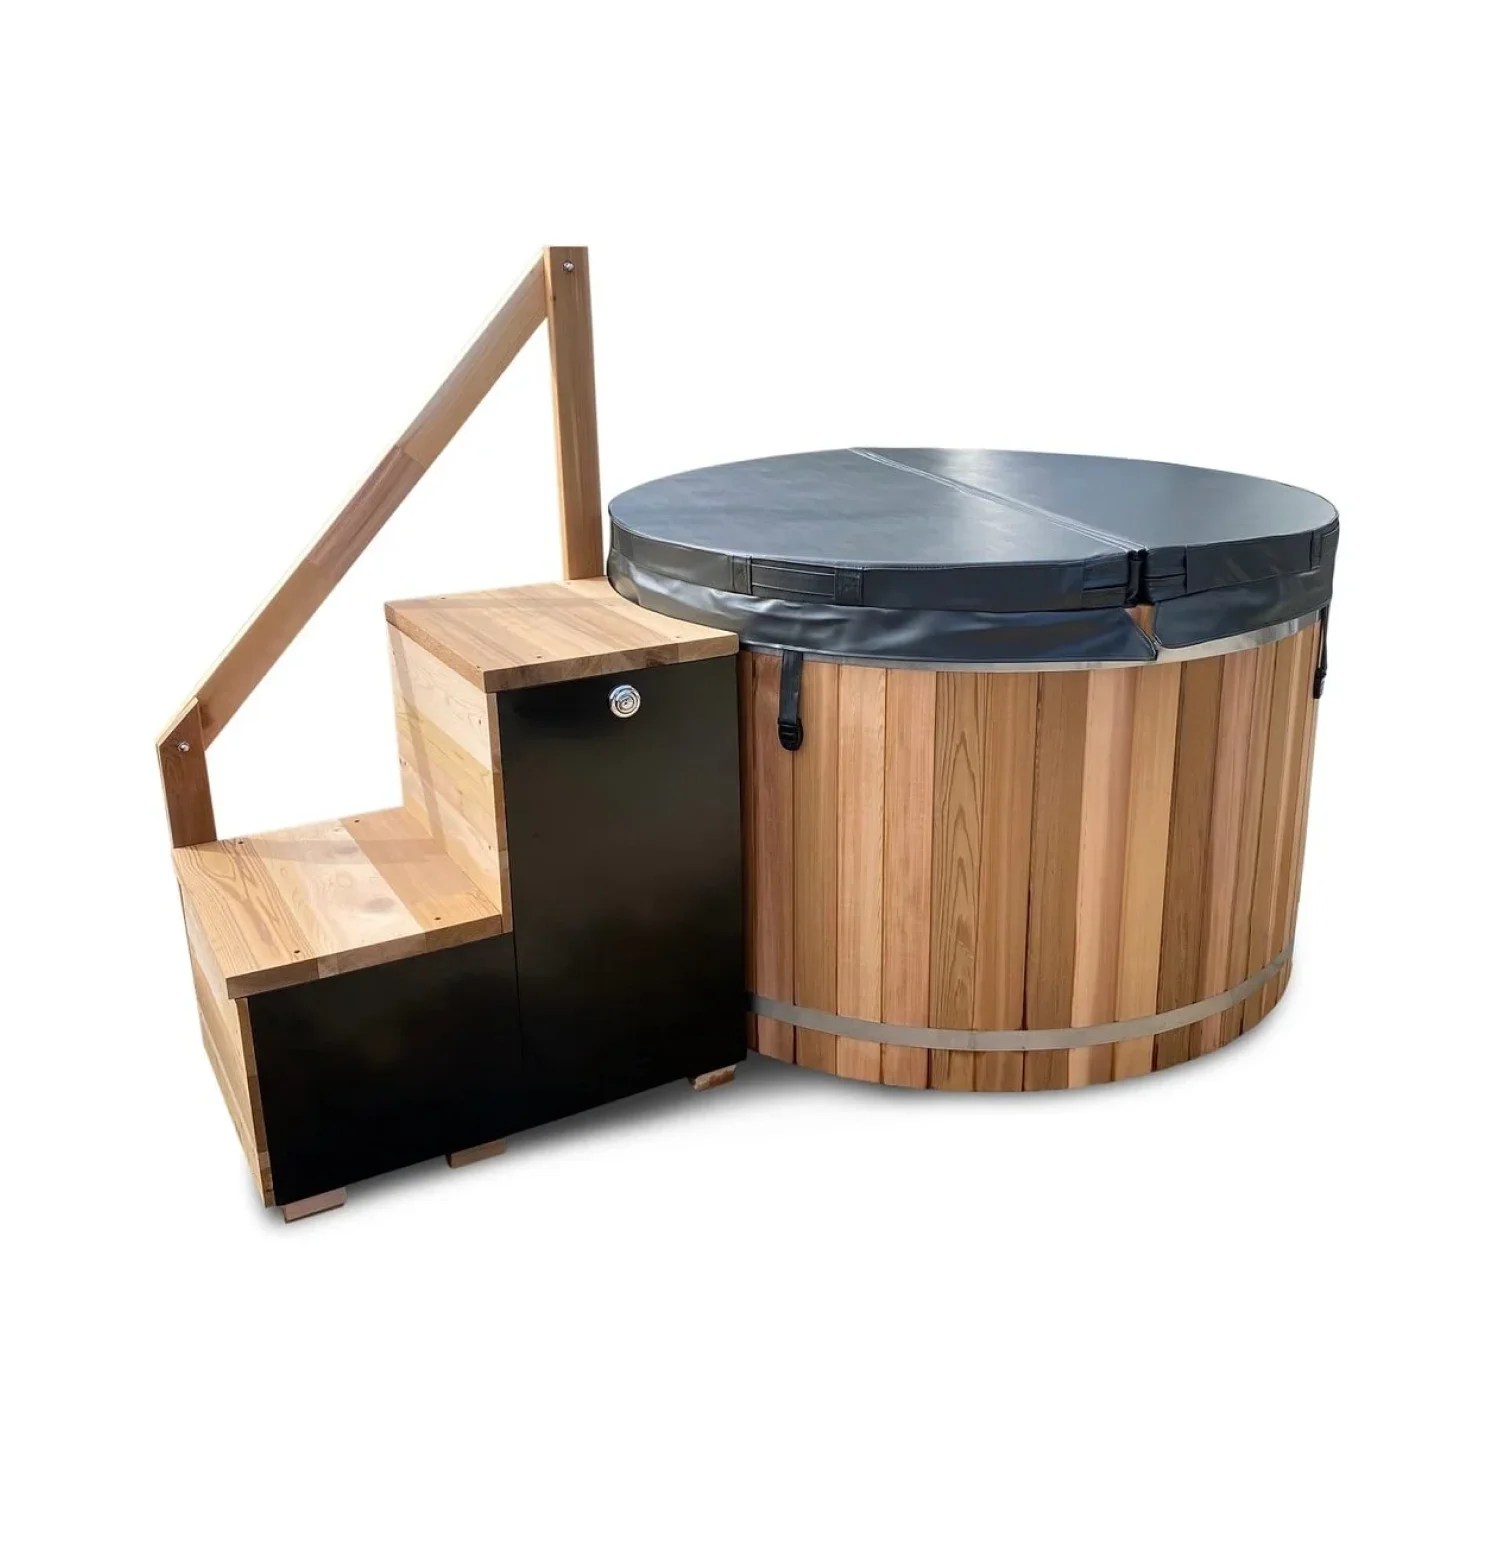
Roundabout 2 – 6 person Stainless steel Hot Tub lined with premium Western Red Cedar
Price range: $6,100.00 through $9,300.00

Table of Contents
ToggleInterested in some tips on how to build a wooden hot tub?
In this article, we wanted to share some of the main steps on how to build a wooden hot tub.
There’s nothing more fulfilling than a successful DIY project. And nothing more relaxing than soaking in a wood-fired hot tub. Why not put the two together and build your own wooden hot tub? Follow this article with 10 steps and you will learn how.
1. Finding the wood
Your first task will be to find cedar boards. Whilst cedar wood is the finest choice for hot tubs, it can be very expensive, so here’s an idea—try to find a warehouse that will let you sort through lumber. You want to find clear boards of cedar without too many knots.
Often warehouses will have boards of cedar that have clear areas large enough for you to cut staves from for your hot tub, though not large enough to be classified as higher-grade lumber. So search through the lower-grade lumber to find some boards with clear sections large enough to cut staves from.
2. Cutting the staves
You’ll then need to cut this wood into staves. Look for the clear sections in the boards you have bought and cut those out with a crosscut saw, or start with a table saw to rip the boards in half before harvesting the clear sections—whichever works best for you.
You’ll of course have some wood left over, but you’ll still be saving money since these boards are so much cheaper than the totally clear cedar boards, and if you have any other projects you can use these extra bits of wood for those. These excess bits of wood are also useful for making the bench to go inside the tub or the fence to go around the stove—we’ll talk about those later.
3. Doing the joinery
Now it’s time to fit the staves together so that they form a circle around the floor and can hold in the water. The joint you’ll need to make is what’s called bead and cove, or sometimes a canoe joint.
As you can see, the convex part slots into the concave part to form a joint. You’ll need to run the board through the router four times in total. It may need, additionally, to be run through a planer. You may end up with some gouging on the face of the bullnose— use a small shaper tool to remove it.
4. Building the floor
For the floor, you’ll also need to use cedar wood boards cut into tongue and groove joints. Having a thick floor is a good idea—you’ll need to secure the benches tight in place with longer screws as they can sometimes become buoyant in the water and come loose from the floor, floating to the top.
Now mark a five-foot circle in the floor and cut it out with a jigsaw. You can do this by attaching a carpenter pencil to the end of a load sticker, placing the screw at two and a half feet distance from the pencil, and winding it around to draw a circle. Now glue the staves together with wood glue. The glue will expand and you can scrape it off after with a shaper.
5. Assembling the staves
To attach the staves to the floor you’ll need to create a dado joint. Once this is done, slot the staves into the floor. Have a piece of the material you used for your floor on hand to use to test the dado joints as you go along. Now you’ll need to strap on tension cables to the side of the tub.
Make sure to get enough extra cable just in case you need it! With the pressure of the water, they should swell up and seal against one another, making the hot tub watertight. You may have to use some sealants if this is not the case.
Maybe make some extra staves just in case and do the joinery on those too.
6. Adding the floor drain
We used a push button drain like in a bathtub at first but noticed that there is always a bit of a leak from it. Then we changed to a classic plug drain type and the leak disappeared. Make sure it’s not installed where the supports are and that it has clearance over the ground. And now put the tub on the support joists and attach a ratchet strap around the top of the tub.
7. Adding the benches
Use leftover staves that have blemishes and knots to make benches that are four sides of a hexagon- the stove will be placed where there are no benches. This should be able to seat four people.
8. Adding the water
Now it’s time to add the water! We noticed that often the leak is large, and it is a waste of water to try to keep the water level inside. So, we started using the sprinkler systems to sprinkle the interior of the tub with water and allow the expansion to start without high water usage.
It’s important to keep it full most of the time so that the water pressure on the joints keeps everything tight. Building a lid can be useful to prevent evaporation. Of course, you may need to use some sealant if there is too much leakage.
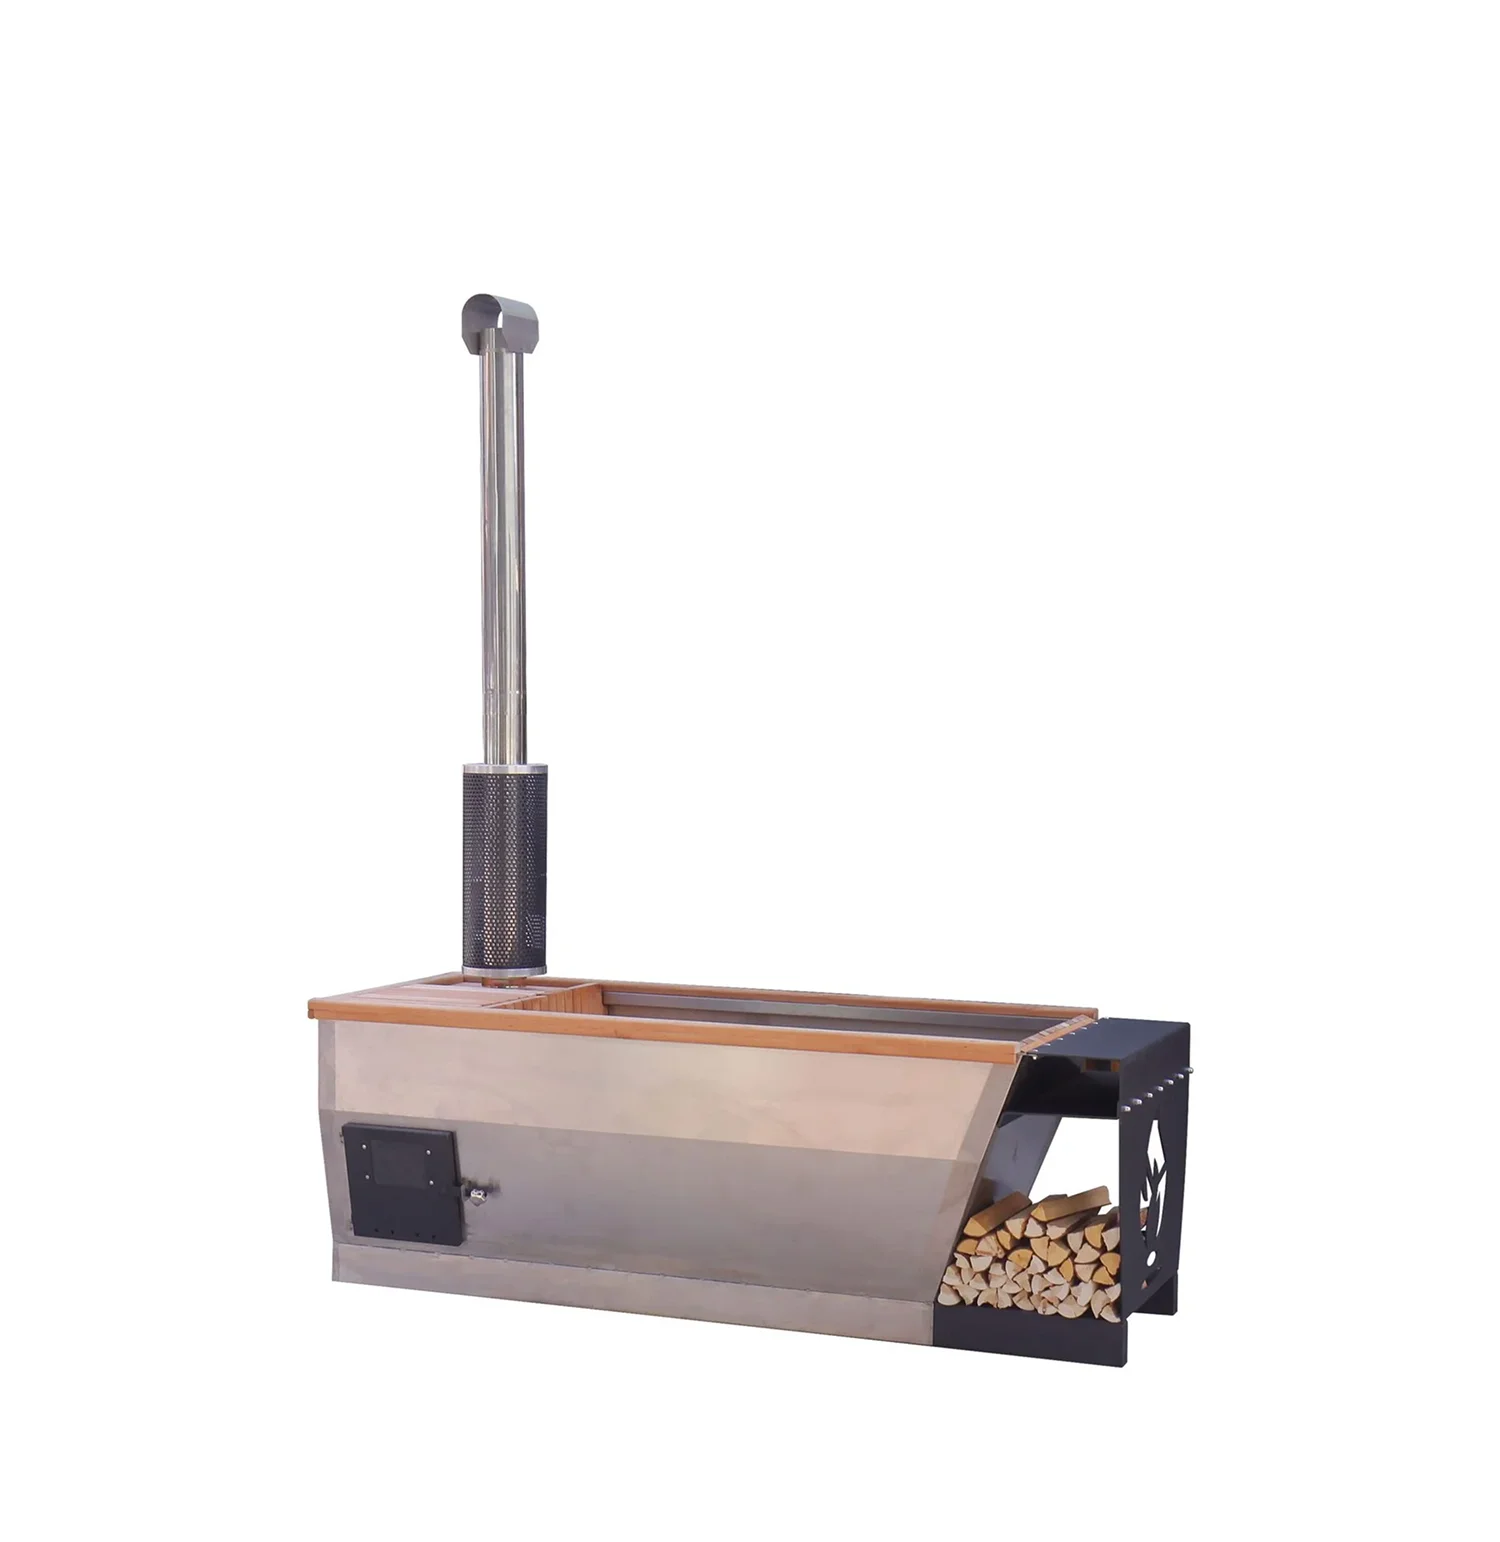
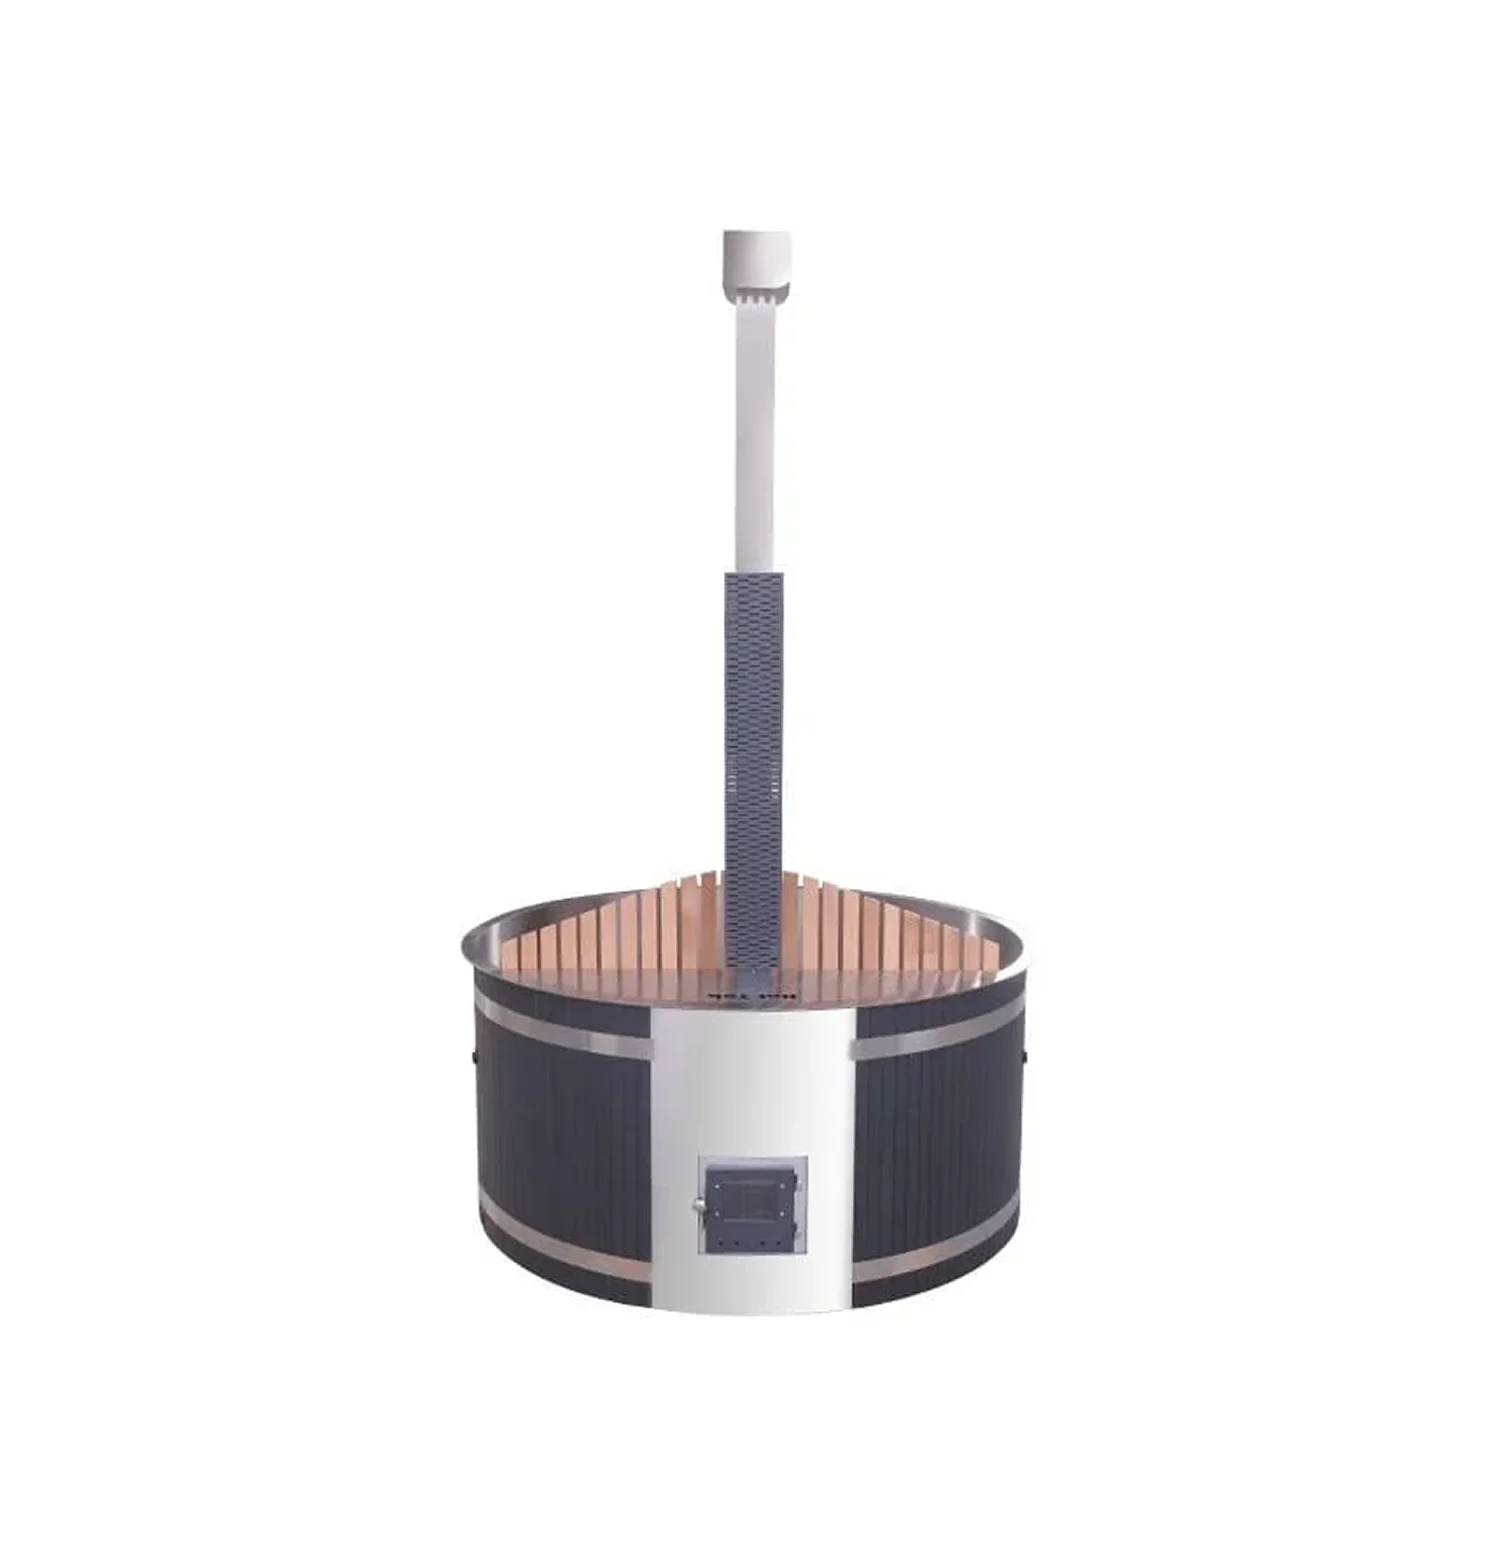
9. Installing the stove
Now it’s time to install the stove. Here’s the part where you probably need to buy a wood stove—a snorkel stove, that is, one which can be submerged in water or the external thermosyphon wood stove which will also require a set of good hoses.
Use stainless steel bolts to secure the stove to the tub. You don’t want the stove to become buoyant in the water, so you need it to be strongly attached. Use rubber washers where the bolts penetrate the stave to help seal up the hole. It’s better to drill a small hole and work it through to avoid too much leakage. Try sitting the stove on masonry bricks above the floor.
The top should stick just above the highest water level, but not too high, so heat doesn’t build up in the firebox.
Build a fence around it so you can’t accidentally touch the stove with your feet and scald yourself. It’s best to leave a little gap at the bottom of the fence to help water circulation, but that should leave only the bricks exposed rather than the stove itself, so your feet should be fine. Leftover cedar can be useful for building the fence.
10. Trying it out
The moment of truth is here at last. Now it’s time to put some wood in the stove, light her up and test out your hot tub! You may need a paddle to stir the water thereby maintaining even heat throughout the tub. An extra piece of cedar comes in handy here.
We hope this post has helped some of you to try out building your own wooden hot tub.
And in case you are left puzzled you can always buy one ready-made from Shym Saunas and Spas.
Can you build your own wooden hot tub at home?
Yes, with the right timber, fittings and a heater, a DIY wooden hot tub is achievable for someone with basic carpentry skills.
What materials do you need for a DIY wooden hot tub?
You’ll need durable timber staves, steel hoops, a liner or sealant, and a heating system such as a wood-fired stove.
How long does it take to build a DIY hot tub?
A DIY build typically takes a weekend to a full week, depending on experience and tub size.
How much does it cost to build a wooden hot tub yourself?
DIY builds can cost significantly less than pre-made tubs, often between $1,500 and $4,000 depending on materials chosen.
What’s the best wood for a DIY hot tub?
Cedar and spruce are popular for their natural water resistance and durability outdoors.
Do DIY hot tubs need a heater installed separately?
Yes, most DIY builds require a separate wood-fired or electric heater to be fitted after the tub structure is complete.
Is building your own hot tub cheaper than buying one?
Generally yes, though it requires more time, tools and effort compared to buying a ready-made kit.
Do you need plumbing experience to build a wooden hot tub?
Basic plumbing knowledge helps for fitting drains and heater connections, though many kits simplify this with pre-fitted components.
How do you maintain water quality in a DIY hot tub?
Regular water treatment, filtration if fitted, and periodic draining and cleaning keep the water safe and clear.
Can a wooden hot tub be heated with firewood?
Yes, wood-fired stoves are a common and cost-effective way to heat a wooden hot tub.