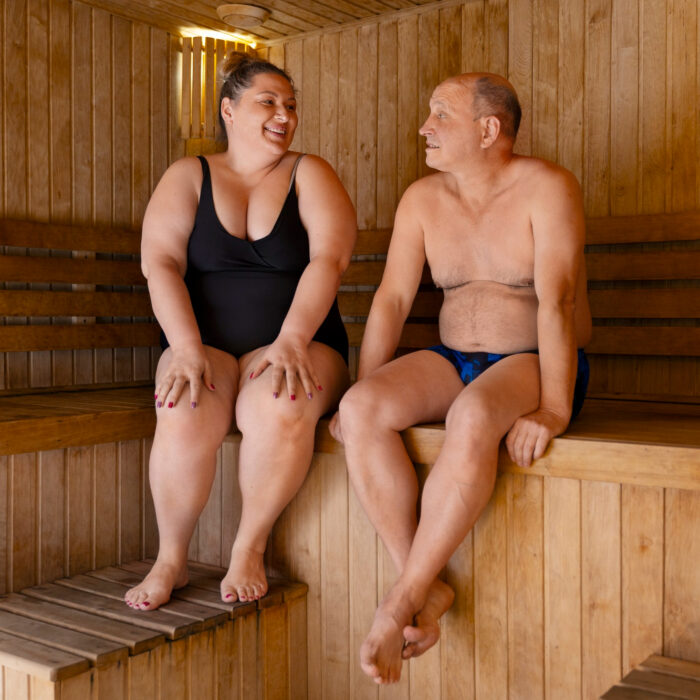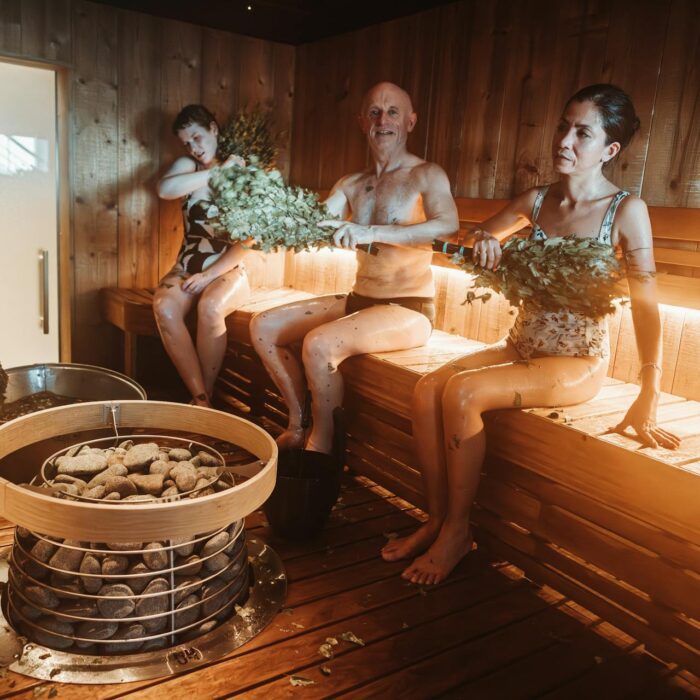
Building a sauna is one of the most rewarding home projects an Australian can undertake. Done right, it transforms a corner of your backyard — or a spare room — into a daily wellness sanctuary that pays dividends for years to come. Done wrong, it’s an expensive, time-consuming lesson in why sauna building deserves careful planning.
Whether you’re a seasoned tradie with a shed full of tools or a passionate DIYer ready for a serious challenge, this guide covers everything you need to know about how to build a sauna in Australia — from the initial planning and sauna building plans all the way through to the door. At Shym Saunas, we supply premium sauna components, timber, heaters, and accessories to Australians who want to build or simply buy — so we know this territory well.
Before diving into how to build a sauna, it’s worth asking whether building is the right path for you. It’s not the right choice for everyone, and being clear-eyed about the commitment upfront saves significant time, money, and frustration.
Building a sauna yourself makes sense if:
Buying a pre-built or flat-pack sauna makes more sense if:
For many Australians, the honest answer is that a premium pre-built sauna from a reputable supplier delivers better value, faster results, and a more reliable outcome than a DIY build. But for those committed to the build path, here’s exactly how to do it properly.
Before you start sourcing materials or drawing sauna building plans, decide on the type of sauna you want to build:
Indoor sauna: Built within an existing room — a bathroom, spare room, or basement. Requires careful waterproofing and ventilation but avoids weather exposure.
Outdoor sauna cabin: A standalone structure in the backyard. Offers the most flexibility in size and design, and is the most popular choice for Australian homes with outdoor space.
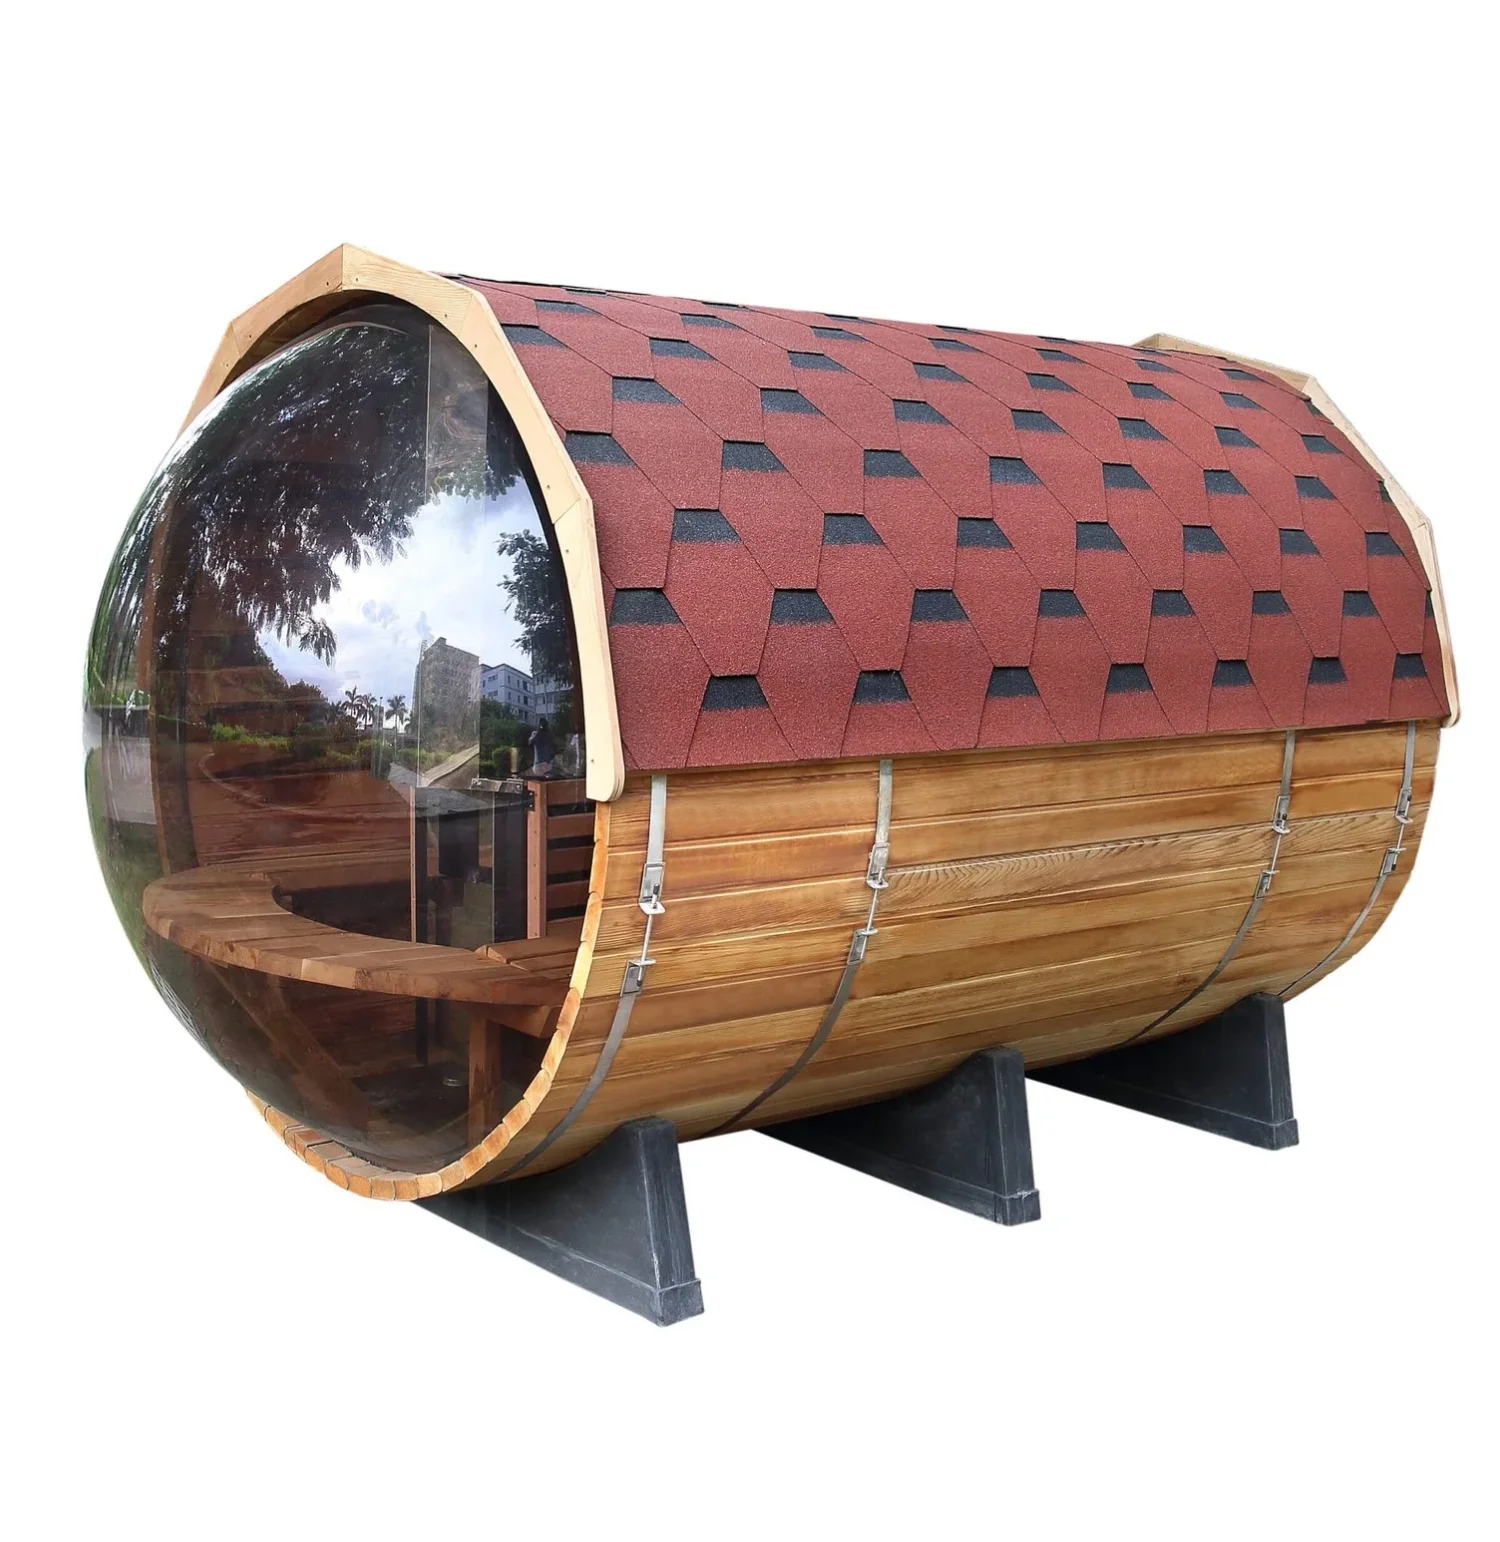
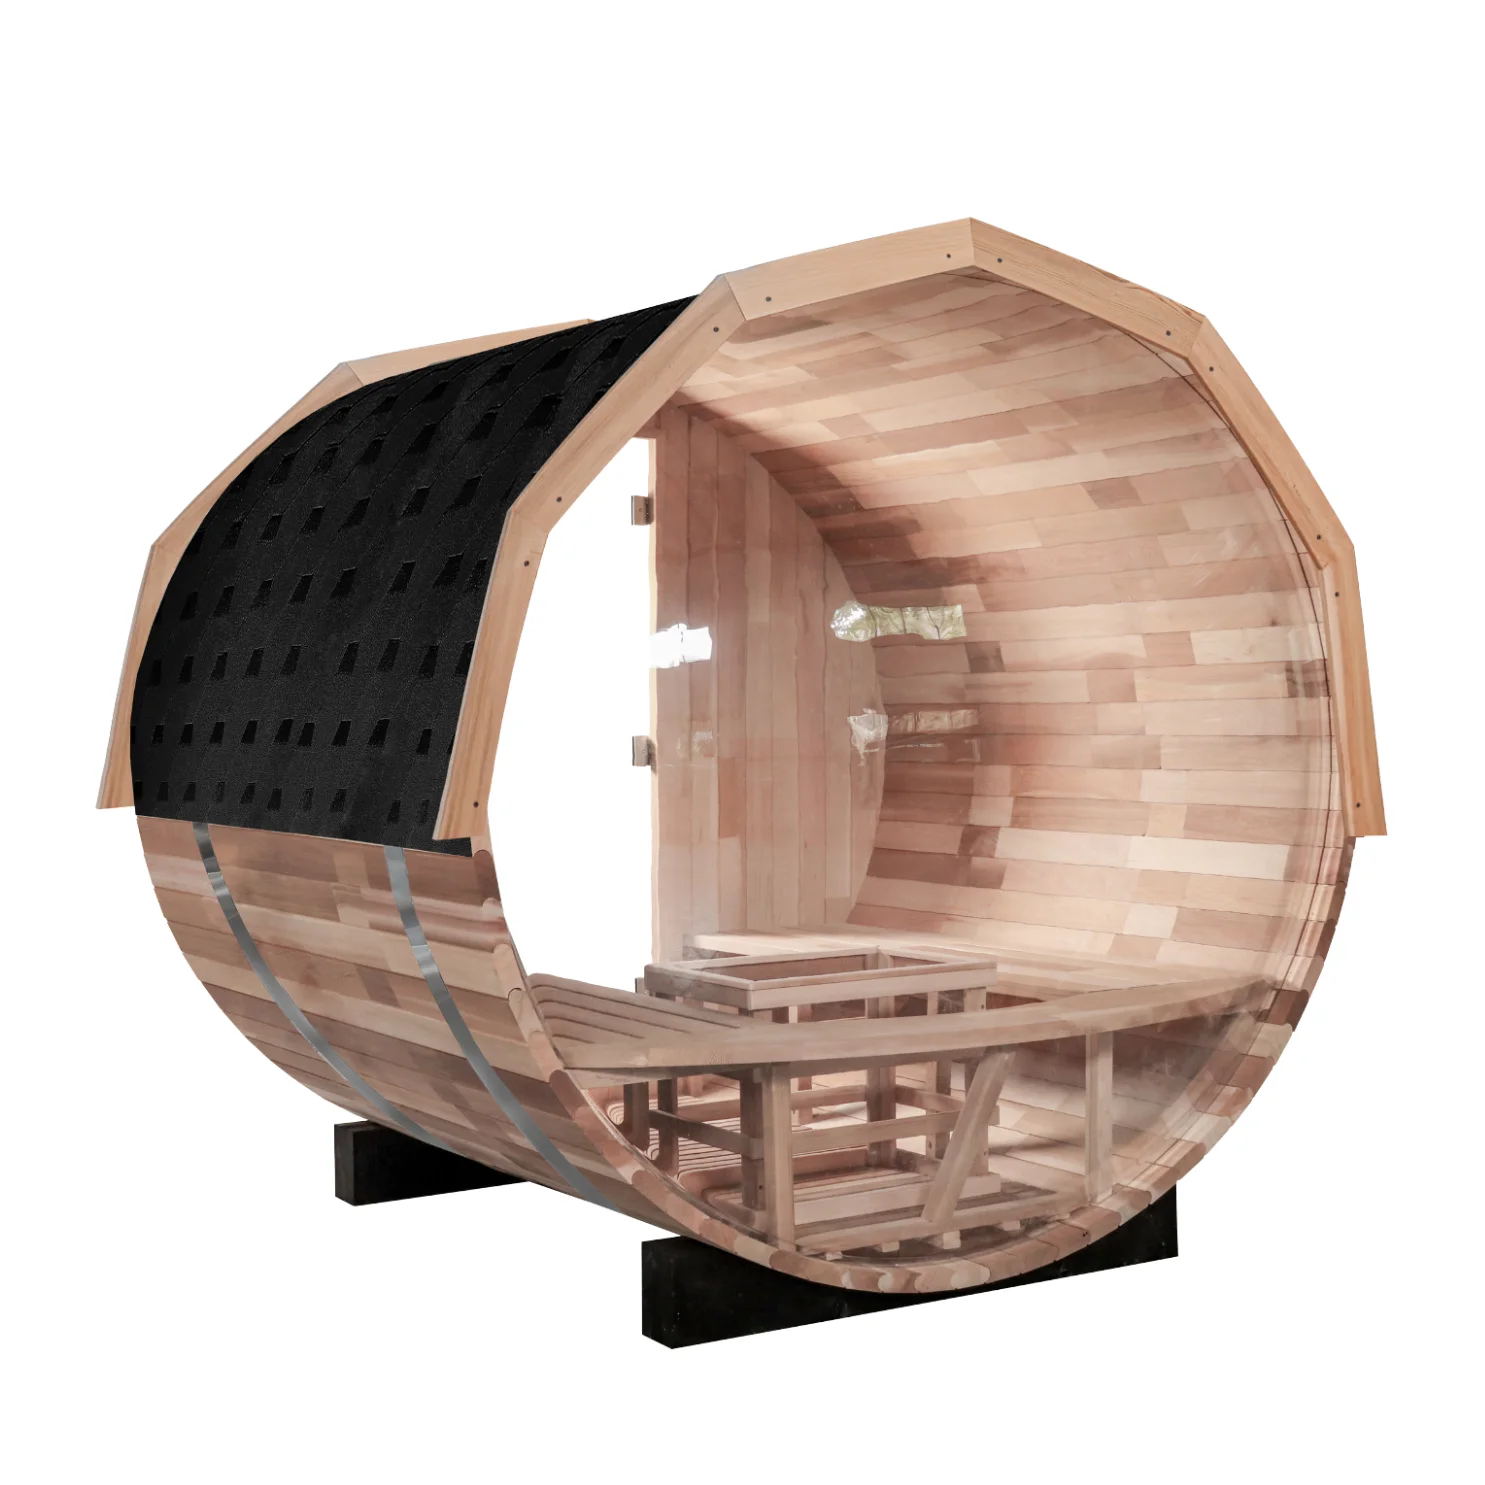
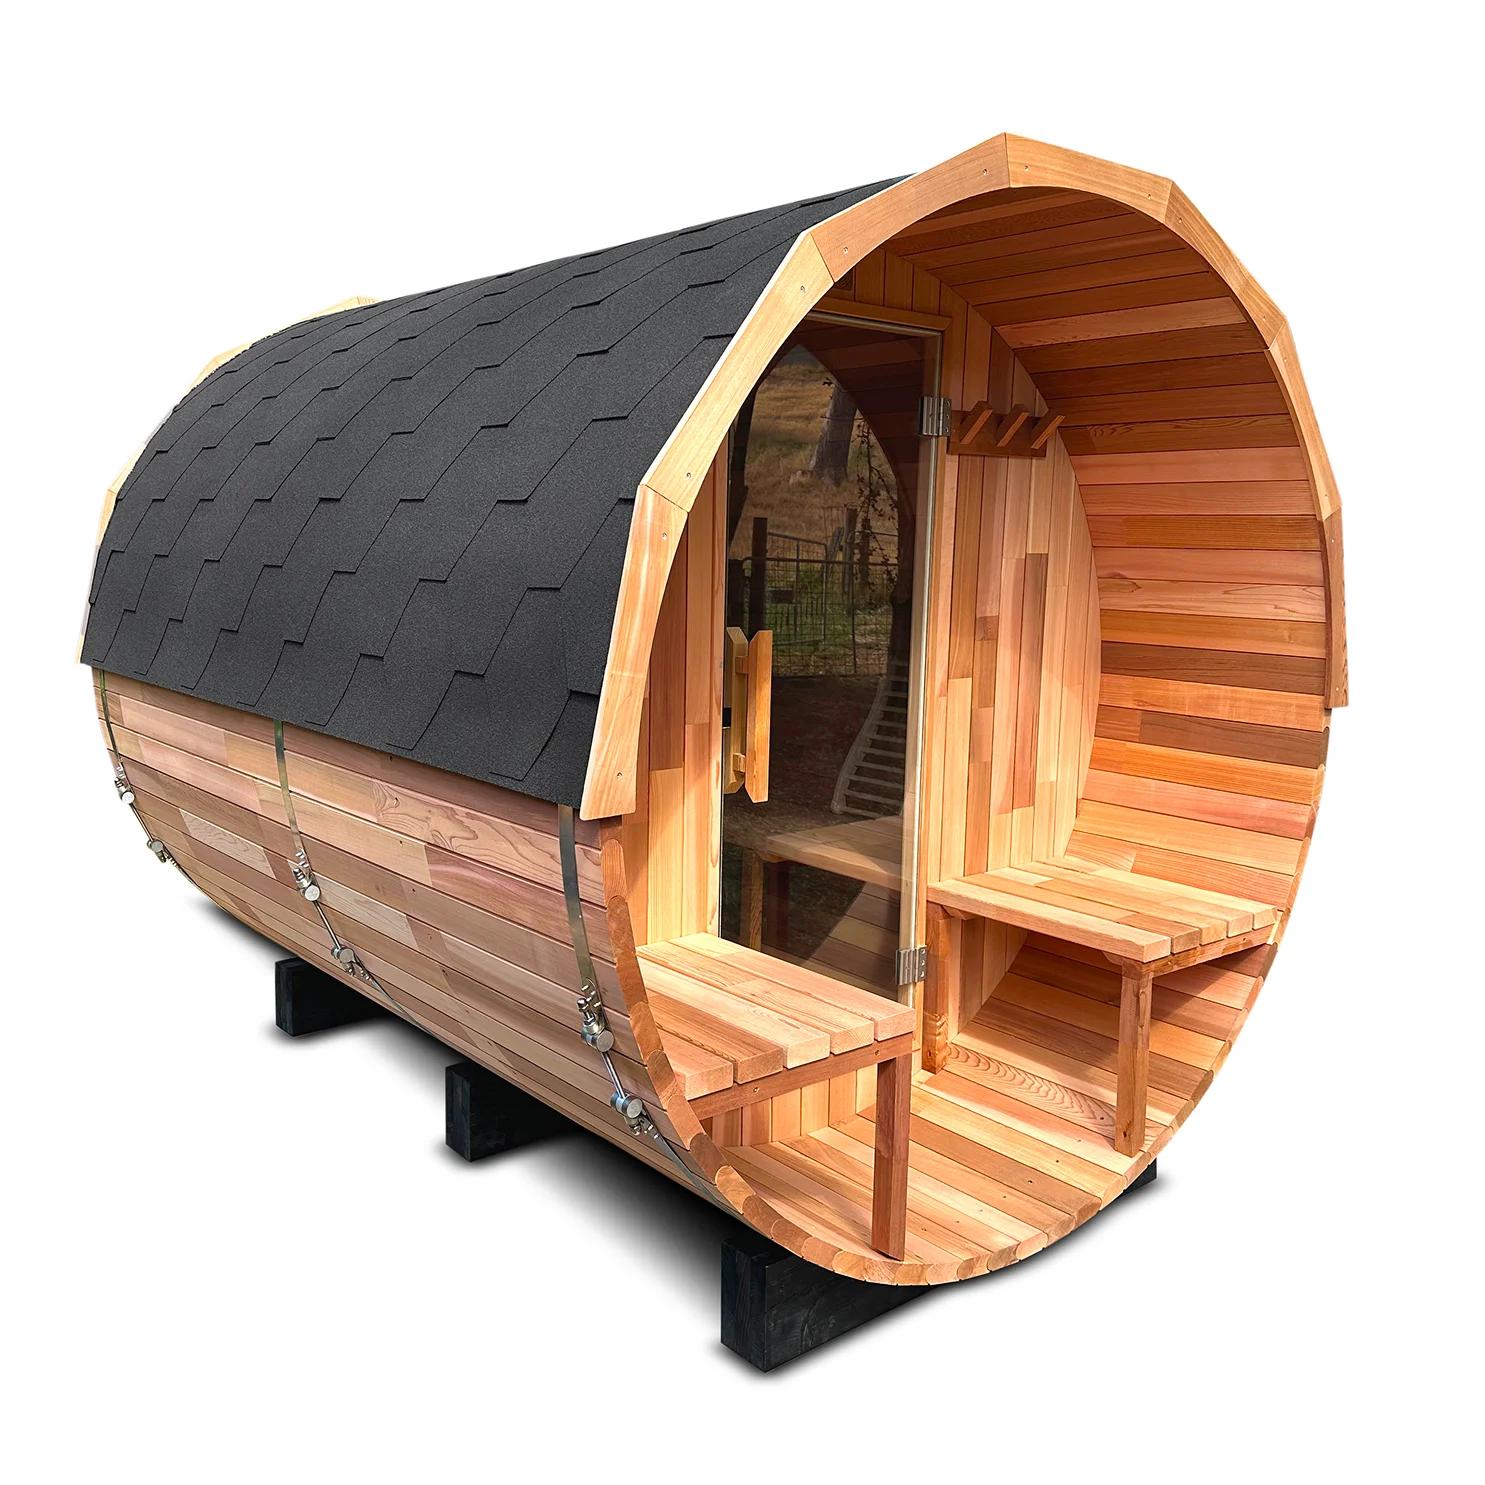
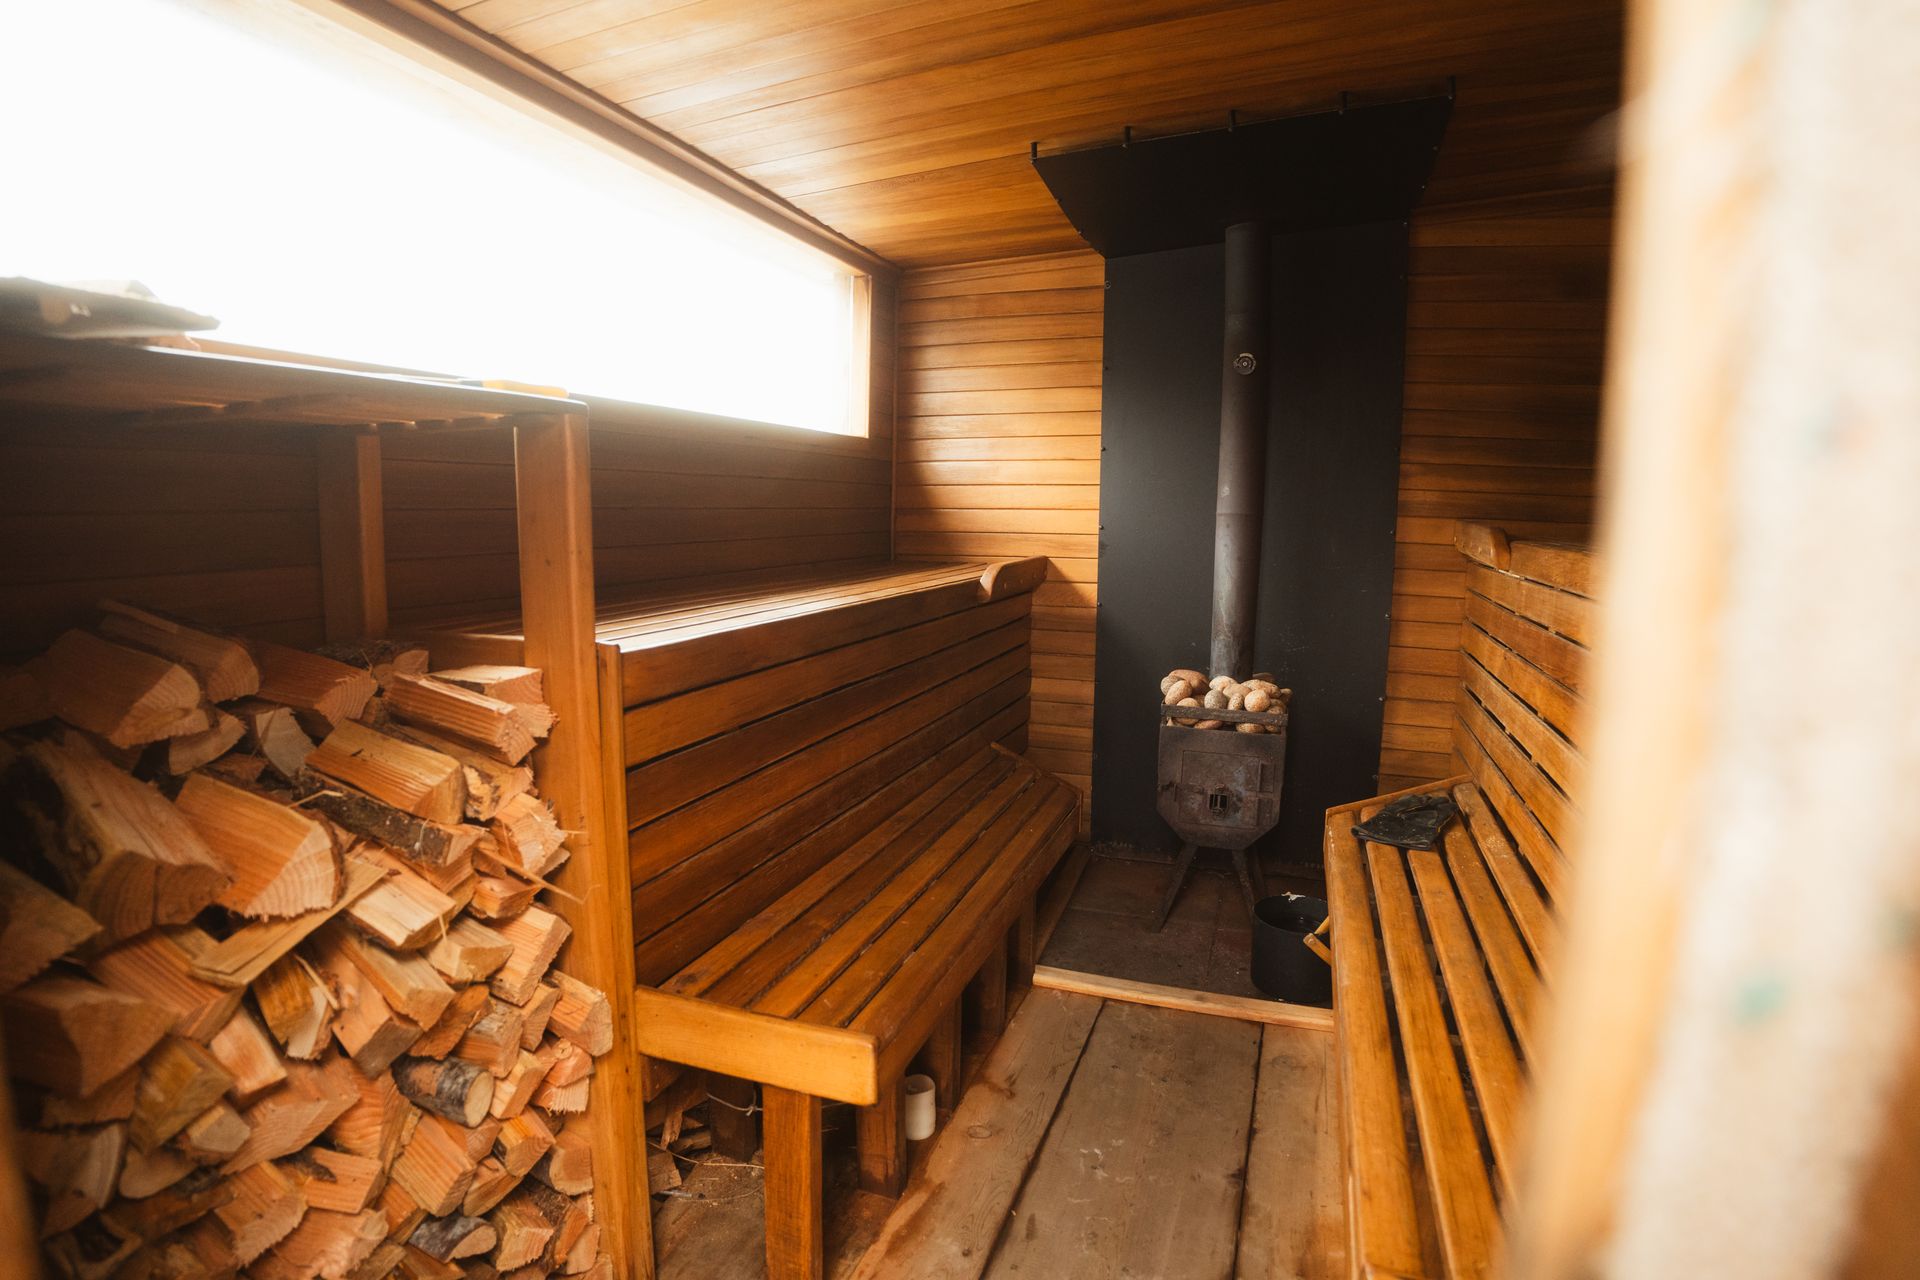
Barrel sauna: A circular or curved design built from stave timber. More complex to construct than a rectangular cabin but offers excellent heat retention and a distinctive aesthetic.
Sauna room addition: A purpose-built extension attached to the house — ideal if you want the sauna accessible from indoors without going outside.
For most Australian DIY builders, an outdoor rectangular sauna cabin is the most practical starting point — simpler to frame, insulate, and line than a barrel design, and more forgiving of minor measurement variations.
Good sauna building plans begin with answering these key questions:
Size: A two-person sauna needs roughly 1.2m x 1.8m of interior floor space. Add 0.5m per additional person. Bench height typically sits at 400mm (lower bench) and 900mm (upper bench) from the floor.
Location: Outdoor saunas need a level base — concrete slab, pavers, or timber decking — and should be positioned with easy access and ideally close to a cold shower or plunge point.
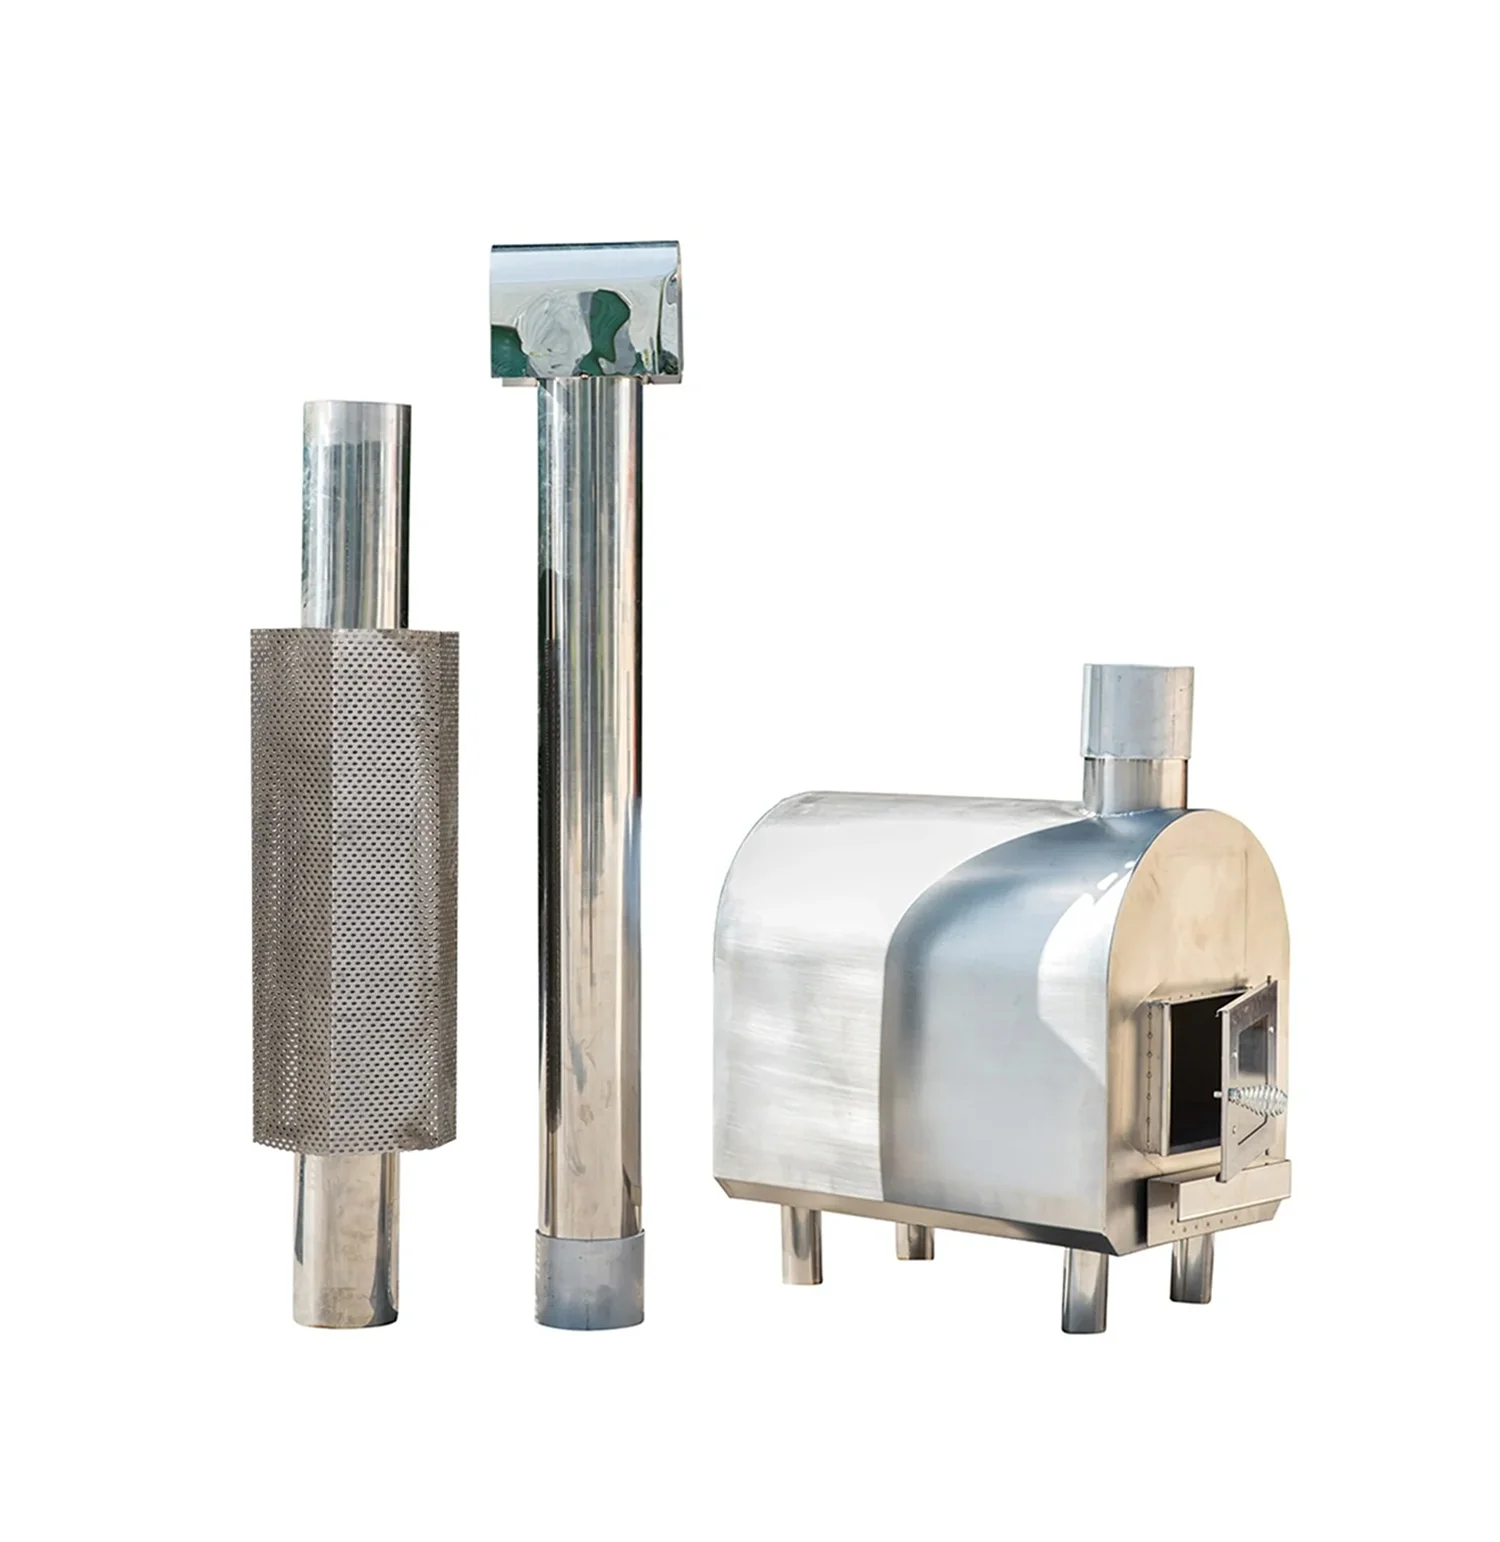
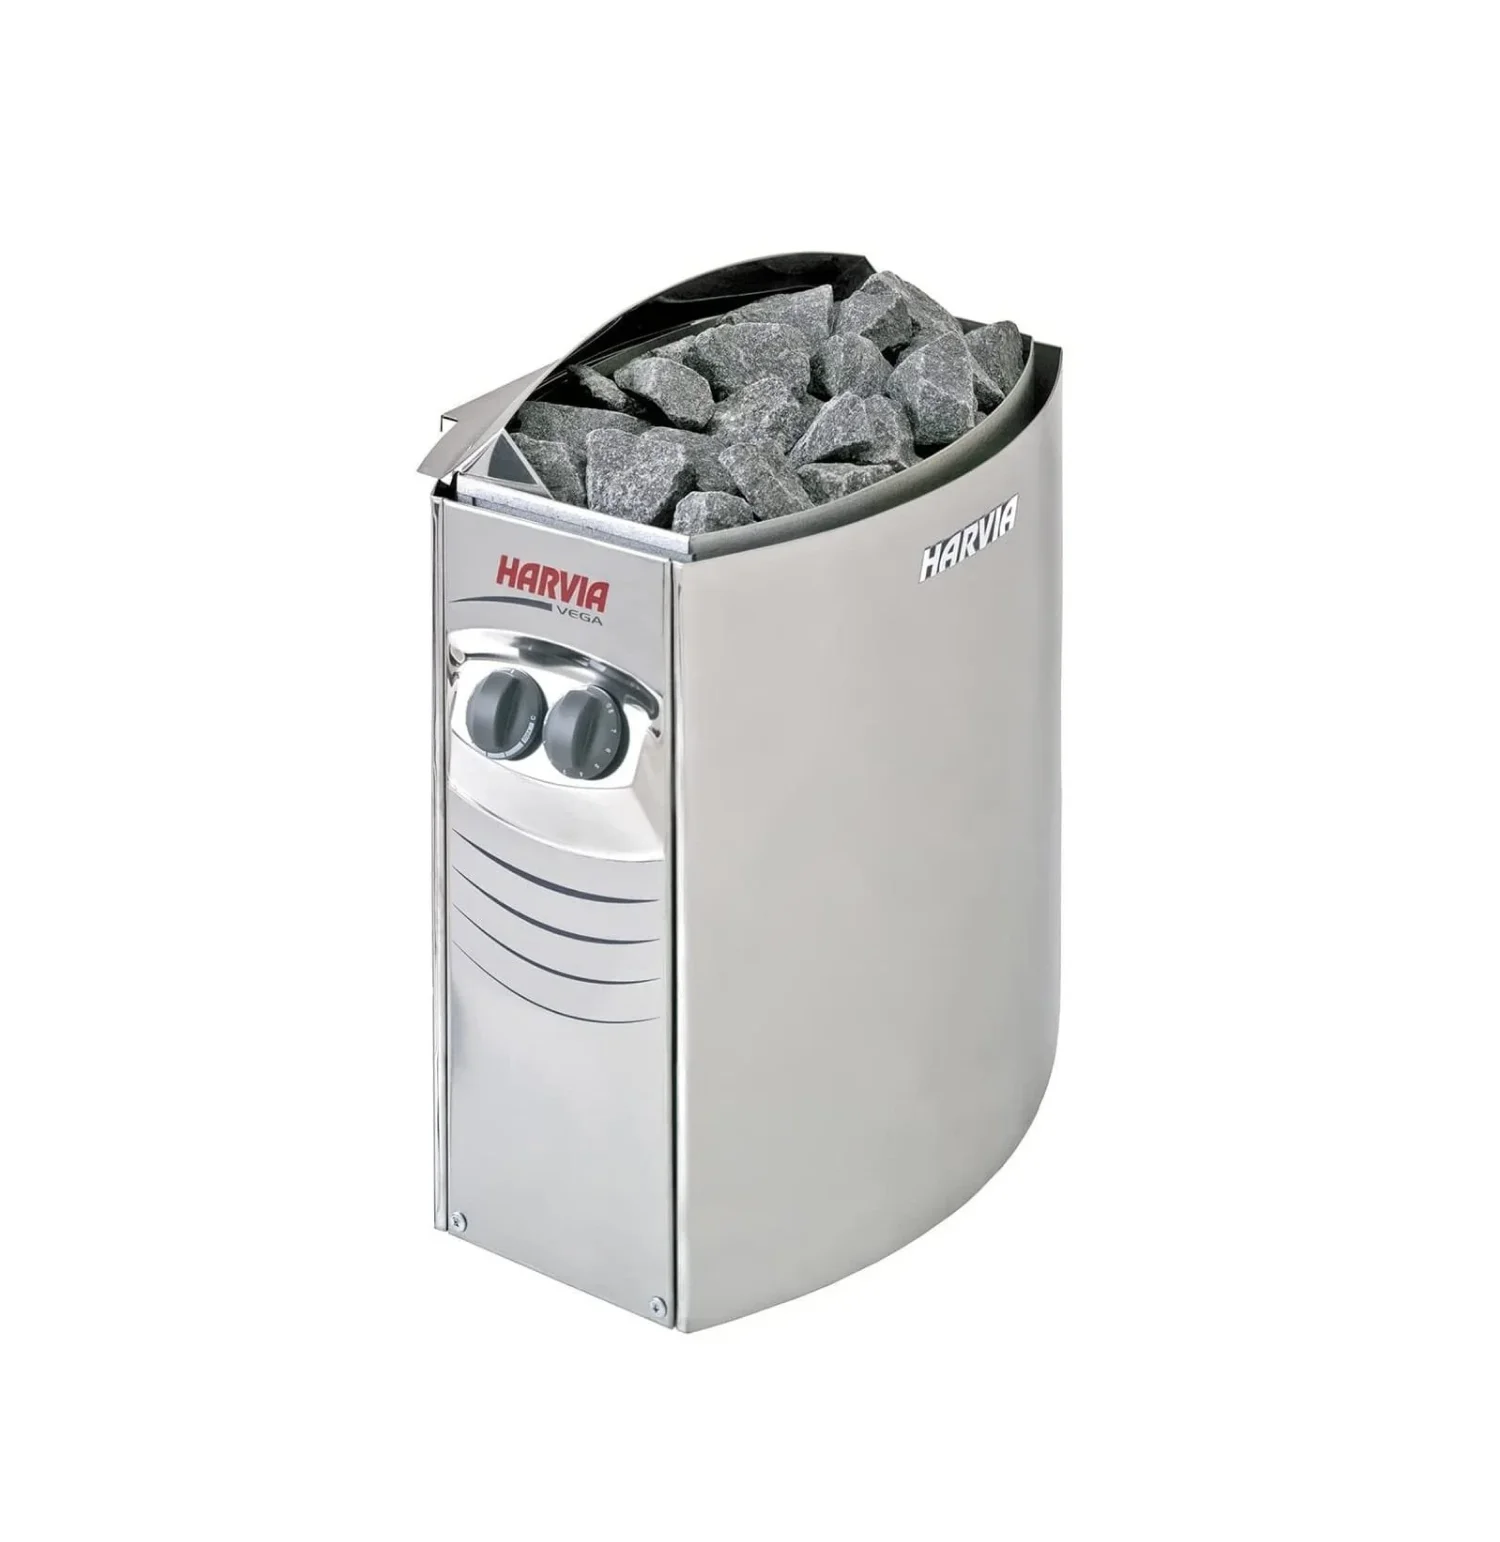
Heating: Wood-fired or electric? Wood-fired heaters are more authentic and produce superior heat quality, but require a flue and regular maintenance. Electric heaters are more convenient, heat faster, and are easier to install — ideal for indoor saunas or builds without chimney access.
Power supply: Electric heaters require a dedicated circuit — typically 10A to 32A depending on the heater’s kilowattage. This must be installed by a licensed electrician.
Sauna building plans should include, at minimum:
Free sauna building plans are available online, though quality varies significantly. For an outdoor cabin sauna in Australia, look for plans designed for timber-frame construction suited to Australian building conditions. Many Australian sauna suppliers, including Shym Saunas, can provide guidance on plans that pair with their components and heaters.
For an outdoor sauna cabin, begin with a concrete slab or treated timber bearer frame as the foundation. Frame the walls using 90mm x 45mm seasoned pine or treated timber at 450mm centres — standard residential framing practice applies here.
Wall height should be between 2.1m and 2.2m. Higher ceilings waste energy by heating air your body never benefits from. Roof framing can be a simple single pitch (skillion) for ease of construction and water runoff.
This step is critical and often underestimated by first-time sauna builders. Inadequate insulation leads to excessive heat loss, longer warm-up times, and higher running costs.
Use R2.5 to R3.5 glass wool or rockwool insulation in the wall cavities and ceiling. On the interior side of all insulation, install a foil vapour barrier — this is non-negotiable. Without it, moisture from the sauna will penetrate the insulation, cause mould, and degrade the structure over time. Overlap all foil joins by at least 100mm and seal with foil tape.
The interior must be lined with timber that can handle extreme heat without resin bleed, warping, or overheating to the touch. The correct timber choices are:
Line walls and ceiling with 90–100mm wide tongue-and-groove boards, fixed horizontally or vertically to battens. Never use pine, MDF, or plywood inside a sauna — they release resins and formaldehyde under heat.
Bench frames can be constructed from the same timber, with 40mm x 70mm structural members and 90mm x 19mm slats on top with 10mm spacing for air circulation.
Position the heater in a corner opposite the door for optimal heat distribution. Follow the manufacturer’s clearance requirements precisely — typically 200mm to 300mm from walls and 500mm from bench tops.
Electric heaters must be connected by a licensed electrician. Wood-fired heaters require a flue that exits the roof with appropriate clearances and a weather cap. Source your heater from a reputable supplier — at Shym Saunas, we stock quality electric and wood-fired heaters suited to Australian sauna builds.
The sauna door is one of the most technically demanding elements of the build. A correctly built sauna door must:
To build a sauna door, construct a solid timber frame from 70mm x 45mm dried timber, panel with 19mm tongue-and-groove boards on both faces, insert the tempered glass panel, and fit a simple wooden handle or heat-resistant grip. Hang using heavy-duty butt hinges rated for the door weight.
If building a quality door feels beyond your current skill level, sourcing a purpose-built sauna door from a specialist supplier is a reliable alternative — Shym Saunas stocks sauna doors suited to Australian DIY builds.
A sauna without proper ventilation is uncomfortable and potentially unsafe. Fresh air must enter low — typically a vent 150mm above the floor near the heater — and exit high, via an adjustable vent on the opposite wall near the ceiling.
Ventilation should provide approximately one to two air changes per hour without defeating the sauna’s ability to hold heat. Adjustable timber vent covers allow the user to regulate airflow during the session.
Before the first heat-up, complete these checks:
Building regulations for saunas vary by state and council. As a general guide:
Always check with your local council before beginning your build. In Queensland, New South Wales, Victoria, and Western Australia, the regulations for exempt development vary and it pays to verify before pouring a slab.
A realistic budget for a quality DIY outdoor sauna cabin in Australia (2 to 3 person, approximately 2m x 2m):
| Item | Estimated Cost |
|---|---|
| Framing timber and foundation | $800 – $1,500 |
| Insulation and vapour barrier | $400 – $700 |
| Interior lining timber (cedar/abachi) | $1,200 – $2,500 |
| Bench timber | $300 – $600 |
| Electric sauna heater | $800 – $2,000 |
| Electrician (dedicated circuit) | $400 – $900 |
| Sauna door | $500 – $1,200 |
| Ventilation, accessories, lighting | $300 – $600 |
| Total estimate | $4,700 – $9,000+ |
This budget assumes you are supplying your own labour. Add $3,000 to $6,000+ for qualified trades if you’re subcontracting the build. At these figures, a premium pre-built sauna from Shym Saunas — installed and ready to use — often represents comparable or better value, with none of the build risk.
If this guide has given you a realistic picture of the commitment involved in building a sauna and you’d prefer to simply enjoy the benefits, Shym Saunas offers a comprehensive range of premium outdoor saunas — barrel saunas, cabin saunas, and indoor models — built from the same quality European timbers you’d use in a DIY build, shipped flat-pack or fully assembled to homes across Australia and New Zealand.
Our saunas are engineered for Australian conditions, backed by manufacturer warranties, and supported by a team who genuinely loves saunas. Many of our customers tell us that after researching the DIY path thoroughly, they chose a Shym Sauna for the reliability, the warranty, and the simple fact that they wanted to be in a sauna by summer — not still building one.
Browse our full sauna range →
Building a sauna is a genuinely achievable project for skilled Australian DIYers — but it demands careful planning, quality materials, correct sequencing, and a realistic understanding of the time and cost involved. From laying the foundation and framing the structure, to insulating correctly, lining with appropriate timber, installing the heater, and building a proper sauna door, each step requires attention to detail that directly affects the performance and longevity of the finished sauna.
For those ready to take on the build, this guide gives you the foundation to do it right. And for those who decide the smarter path is a quality pre-built sauna delivered to their door, Shym Saunas is ready to help — with Australia’s best range of premium home saunas and the expertise to match.
Explore our sauna range →
Building a sauna is a moderately to highly skilled DIY project. It involves carpentry (framing, lining, benches, and door), basic plumbing considerations, and mandatory licensed electrical work. Someone with solid carpentry skills and experience with residential construction can achieve an excellent result — but it is not a beginner project. Allow four to eight weeks for a full outdoor cabin build if working on weekends.
The interior of a sauna must be lined with heat-stable, low-resin timber. The best choices are western red cedar, abachi, aspen, and thermally treated spruce (thermowood). Never use standard pine, MDF, particleboard, or plywood inside a sauna — they release resins and formaldehyde under heat, creating an unhealthy and unpleasant environment.
It depends on your state and council. Outdoor sauna cabins under 10m² are often classified as exempt development in many Australian states, but rules vary significantly. Electrical work always requires a licensed electrician. Always check with your local council before starting any sauna build to avoid costly compliance issues.
A quality DIY outdoor sauna cabin typically costs between $4,700 and $9,000 in materials, plus electrician fees. Adding qualified trades for the build itself can push total costs to $10,000 to $15,000 or more. At these price points, premium pre-built saunas often represent comparable or better value, with guaranteed quality and no build risk.
For two people, a minimum interior size of 1.2m x 1.8m is workable, with 1.5m x 2.0m being more comfortable. Add approximately 0.5m of bench length per additional person. Interior height should be kept between 2.1m and 2.2m — higher ceilings waste heat without adding comfort.
A sauna door must be built from solid kiln-dried timber (cedar, aspen, or abachi), open outward, include a tempered glass panel of at least 6mm, and seal well without locking from the inside. Use wooden or heat-resistant hardware — metal handles become dangerously hot. If building a quality door is beyond your skill level, purpose-built sauna doors are available from specialist suppliers including Shym Saunas.
Electric heaters are the most practical choice for most Australian DIY builds — they heat quickly, require no flue, and are easier to install (by a licensed electrician). Wood-fired heaters produce superior heat quality and a more authentic experience but require a chimney flue, more maintenance, and potentially council notification. Choose a heater sized for your sauna’s cubic meterage — oversizing wastes energy and undersizing leads to a sauna that never gets hot enough.
Use R2.5 to R3.5 glass wool or rockwool insulation in all wall and ceiling cavities. On the interior side of the insulation, install a foil vapour barrier with all joins overlapped by 100mm and sealed with foil tape. This vapour barrier is critical — without it, moisture will penetrate the insulation, cause mould, and degrade the structure over time.
A realistic timeline for an experienced DIYer building an outdoor sauna cabin on weekends is six to ten weeks — including foundation preparation, framing, insulation, lining, benching, heater installation, door hanging, and finishing. Hiring trades for electrical and specific carpentry elements can compress this timeline but adds to cost.
When all costs are factored in — materials, electrician, tools, and your time — building a sauna yourself often costs more than buying a quality pre-built model, particularly at the mid-to-premium end of the market. The main advantage of building is full customisation of size and design. If your priority is getting into a quality sauna as efficiently as possible, a pre-built sauna from Shym Saunas delivered to your home is almost always the better value proposition.